
We Tried 7 Ways to Make Whipped Cream — Here’s the Good, the Bad, and the Messy
Freshly whipped cream is one of the simple joys in life, but for some reason it’s a technique that’s often perceived as difficult or time-consuming (neither of which is true). Although there’s a time and place for canned whipped cream (late at night while standing at the fridge, for example), I’m here to implore you to give homemade whipped cream a go. Its rich flavor and supremely silky, fluffy texture is hard to beat.
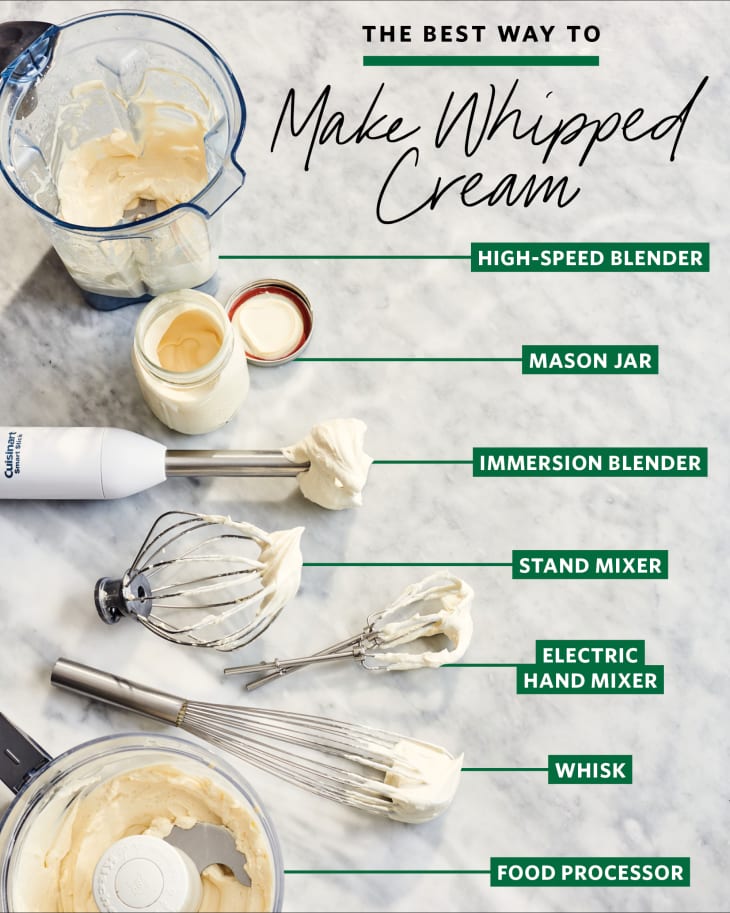
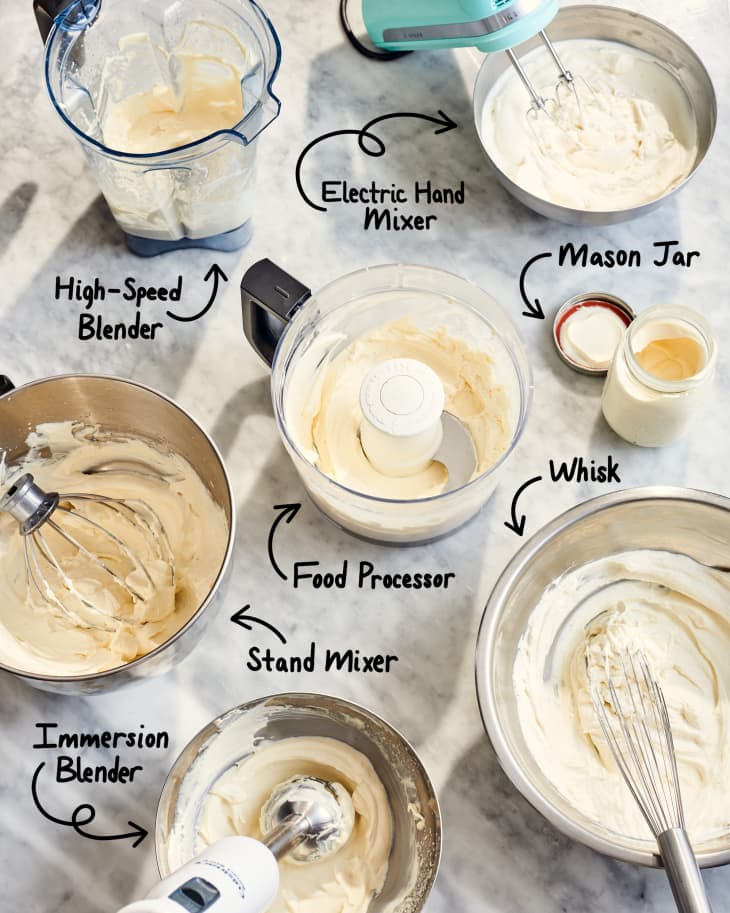
But I don’t expect you to be convinced by that argument alone. To help make the case for homemade whipped cream, I tried making it seven different ways to find out which one is the easiest and makes the best end product. I’ve always gone with the stand mixer method for making whipped cream instead of whipping by hand, because I’m lazy and my mixer is always within arm’s reach on my kitchen counter. But if you don’t have a stand mixer (or don’t keep it on the counter), I wondered if other methods — like using a hand mixer, a food processor, or (gasp!) whisking by hand — could create equally fluffy whipped cream. Here’s what happened when I put the methods to the test.
A Few Notes About Methodology
Recipe: I used the following basic whipped cream ratio for each method: 1 cup whipping cream, 1 tablespoon confectioners’ sugar (aka powdered sugar), and 1 teaspoon vanilla extract. I also used the same brand of whipping cream and other ingredients for all the tests.
Tests: Each method was timed from the minute the whipping started until firm peaks formed, not taking into account how long it took to measure out the ingredients. The final volume of whipped cream was measured in a standard liquid measuring cup. Because of the variety in methods, I did not chill any equipment.
Ratings: Success was measured by how long it took and how easy or difficult it was to reach the firm-peak stage of whipped cream without overwhipping, along with the texture and volume of the finished whipped cream. I also considered how messy it was to make and to clean up.
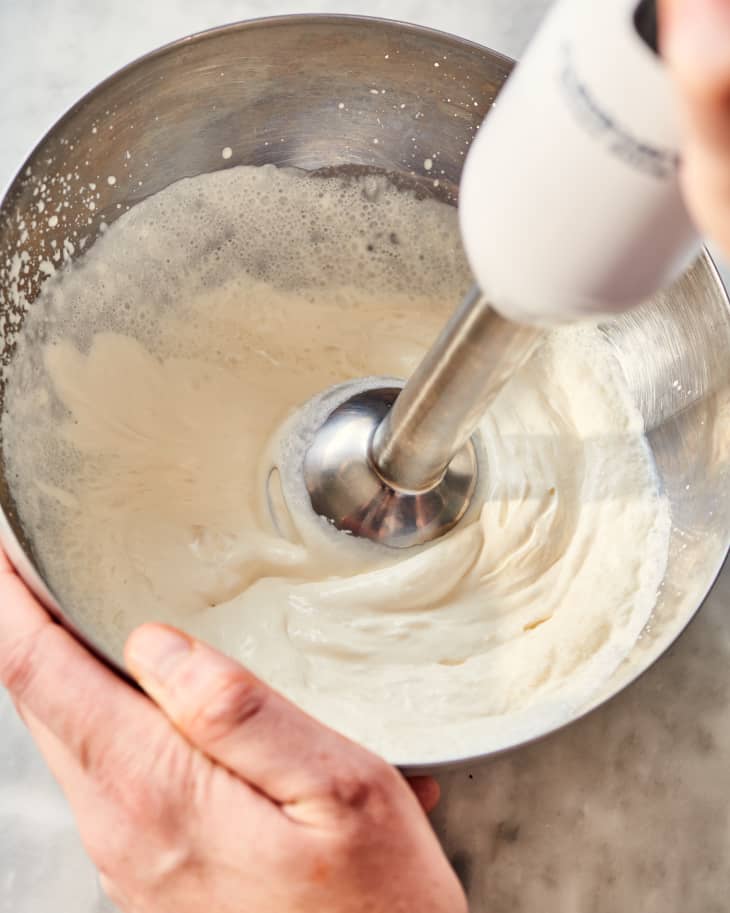
Whipped Cream Method: Immersion Blender
- Time: 1 minute
- Volume: 1 1/3 cups
- Rating: 1/10
Have you been looking for an excuse to clean your kitchen counters and anything stored on them? Making whipped cream with an immersion blender will give you that chance!
For this test, I used my immersion blender with the regular blender attachment blade, although there are some immersion blenders that come with a whisk attachment. I began by pouring the whipping cream into a standard stainless steel bowl, then placed the immersion blender in the cream and turned it on low. Despite my best efforts (this is not my first immersion blender rodeo), the cream splattered everywhere. I transferred the cream to a deep measuring cup after 30 seconds of trying to manage the splatter and restarted the process with the blender set to low. Immediately the cream became grainy, overwhipped, and unworkable.

Trying again with 1/2 cup of cream in a 2-cup Mason jar, I reached the consistency of shaving cream within 1 minute. I started to whip it further to make it fluffier, and once again the cream became grainy in seconds. The moment between soft cream and overwhipped cream is hard to predict, and it’s difficult to do more than 1/2 cup at a time. My advice? Save that immersion blender for making creamy soups.
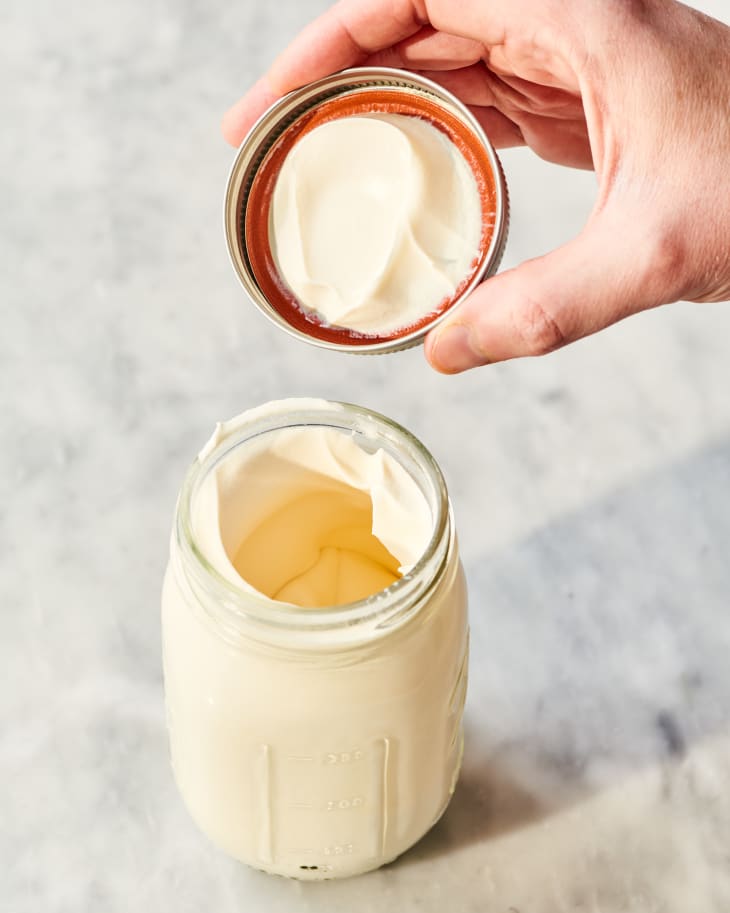
Whipped Cream Method: Shaking in a Mason Jar
- Time: 4 1/2 minutes
- Volume: 1 cup (doubled from 1/2 cup)
- Rating: 3/10 for efficiency, 10/10 for a kids’ activity
For this method, I started with a half-batch of the whipped cream recipe, pouring 1/2 cup of cream into a 2-cup wide-mouth Mason jar. I sealed the jar and started shaking vigorously. After 1 minute, the cream had thickened slightly and I added 1 1/2 teaspoons of confectioners’ sugar and 1/2 teaspoon vanilla extract. After 3 minutes of shaking and walking around my dining room and kitchen, I got to the soft-peak stage, and after 4 1/2 minutes the cream had fully thickened to a perfectly whipped consistency and wouldn’t move in the jar.
It’s probably impossible to overwhip the cream with this method unless you have Hulk-like strength. I gave it a bunch of good shakes and it stayed in its fluffy and creamy stage without budging. It’s not the most efficient method and you need plenty of extra room in the jar to really shake, so for a 1-cup batch, you’d have to use a quart-size mason jar.
Still, as a kids’ project, making small batches of fresh whipped cream sounds pretty fun and rewarding to me. Plus, it’s made and stored in its own container, which is a bonus.
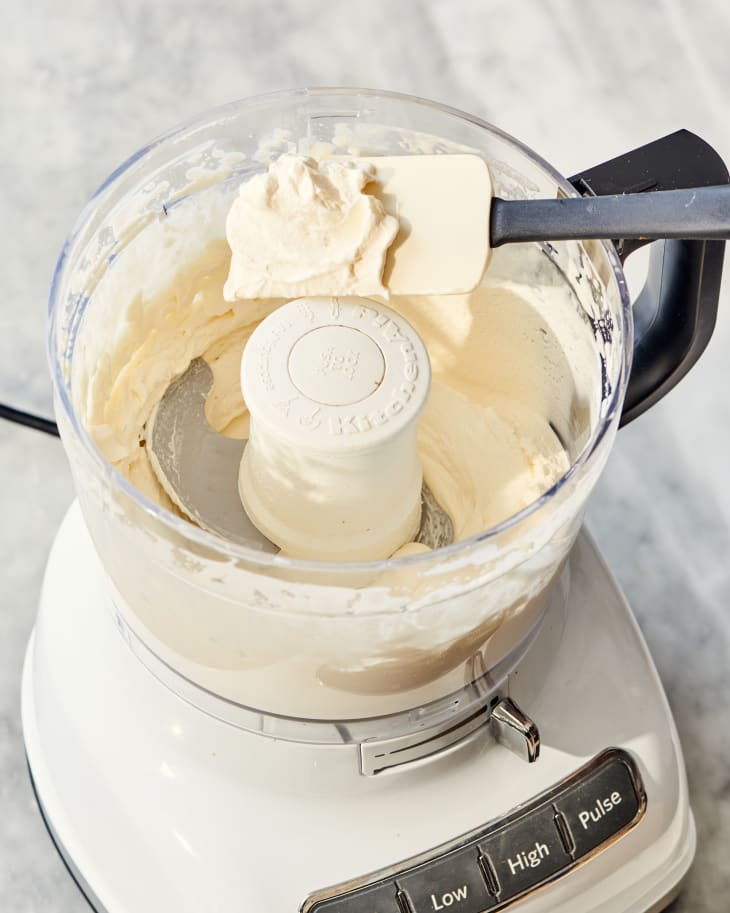
Whipped Cream Method: Food Processor
- Time: 1 1/2 minutes
- Volume: 1 1/2 cups
- Rating: 5/10
Making whipped cream in a food processor is fast, but also a little mysterious. And by mysterious, I mean that you can’t see what the heck is going on inside the processor bowl because the cream splashes up and makes an opaque curtain the second you turn the processor on.
Read more: The Best Food Processors to Buy in 2021
I blended the cream for 30 seconds, then stopped the processor to let some of the liquid drip down before adding the confectioners’ sugar and vanilla. Checking every 30 seconds, I reached a whipped and thick consistency in 1 1/2 minutes total. But trying to whip it for 30 seconds more was too much, and the cream ended up overwhipped and grainy.
Because it’s hard to see how quickly the cream is whipping, the risk of overwhipping in a food processor is fairly high. The texture is good if you can time it just right, but it’s a fine line to toe. Another minor caveat with this method is that you can’t do a half batch of whipped cream: 1/2 cup was not enough to whip properly in a standard 12-cup food processor. (For another perspective, check out Jessie Sheehan’s argument for making whipped cream in a food processor.)

Whipped Cream Method: Vitamix or Other High-Speed Blender
- Time: 30 seconds
- Volume: 1 1/2 cups
- Rating: 7/10
For this method, I used my
Vitamix 5200 blender
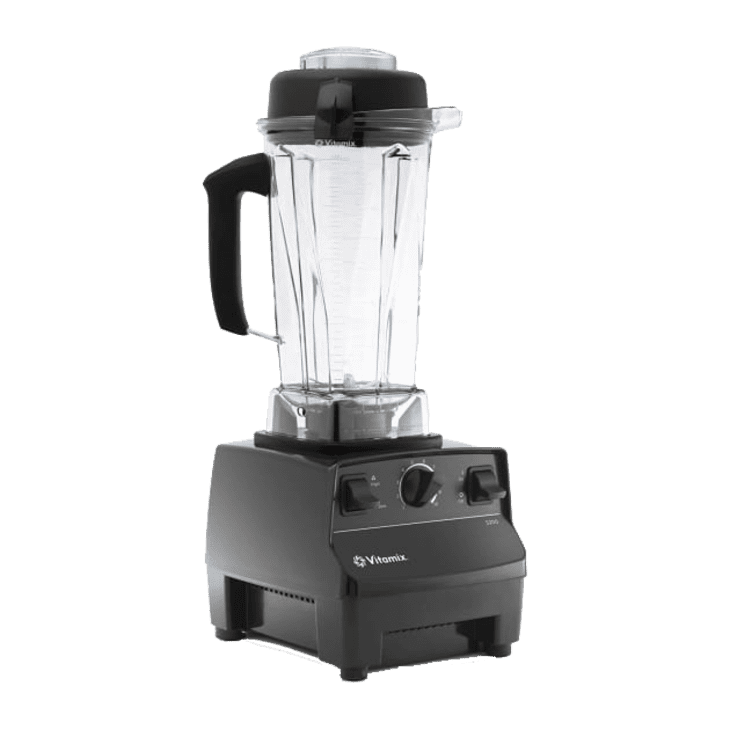
I started at speed level 1, incrementally increasing the speed to level 3, and reached a soft and creamy whipped texture within 30 seconds. After the blender was stopped and restarted, the blades would spin without whipping the cream, which was stuck in place. On one hand, it’s good that it’s almost impossible to overwhip, but you better be sure you like the texture of your whipped cream before you stop blending.
This would get a higher rating if it weren’t so annoying to try and get every last speck of whipped cream out from around the blades. This is always a problem with thick sauces in the Vitamix, though.
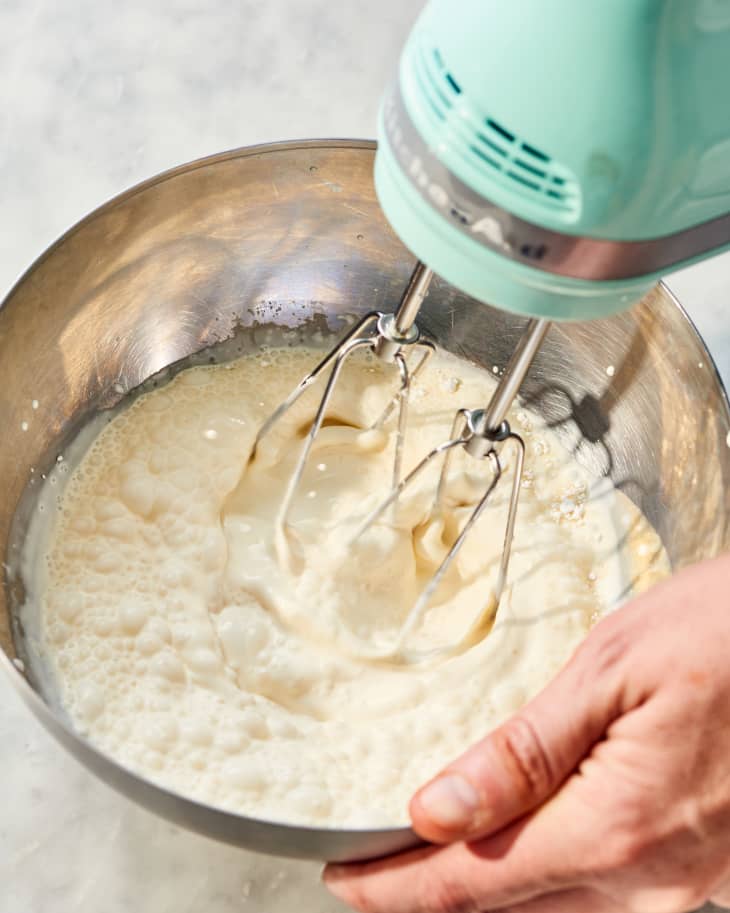
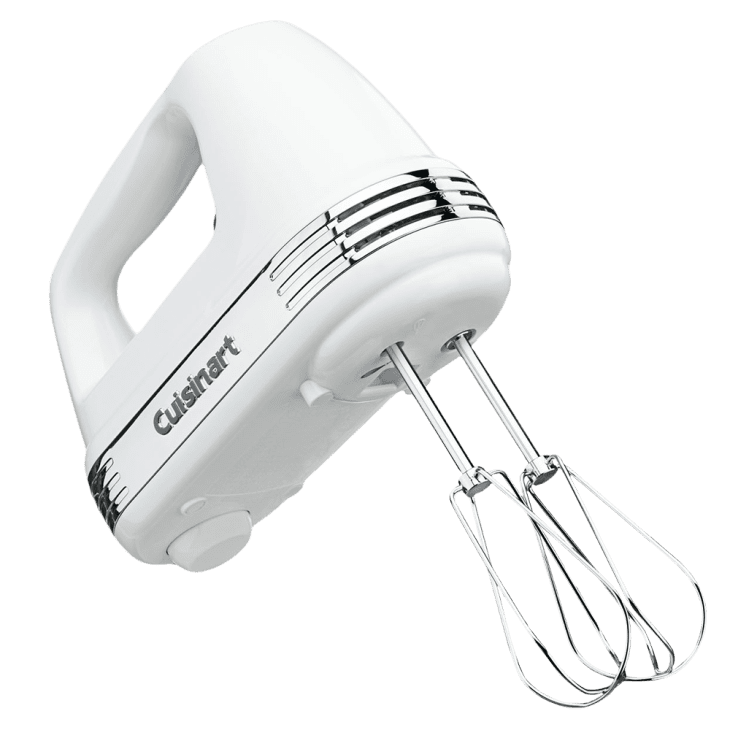
Whipped Cream Method: Electric Hand Mixer
- Time: 3 1/2 minutes
- Volume: 2 cups
- Rating: 9/10
For this method, I used my electric hand mixer fitted with the standard beaters (because not all hand mixers offer a whisk attachment, or you might have lost it somewhere along the way) and a stainless-steel bowl.
The texture was smooth and fluffy with a manageable amount of splatter in the bowl, although this was a bit messier than my favorite two methods. I find it hard to over-whip the cream with this method because you can see exactly how it’s progressing and can stop when it gets to your preferred thickness. It works reliably and it doesn’t require too much effort or an expensive piece of equipment, so it’s no wonder this is one of the most common methods for making whipped cream. There is slightly more chance of splatter with this method than with the stand mixer, and without a whisk attachment it might be a bit less fluffy, but overall, this is a solid method we’d highly recommend.
Read more: Our Guide to the Best Hand Mixers
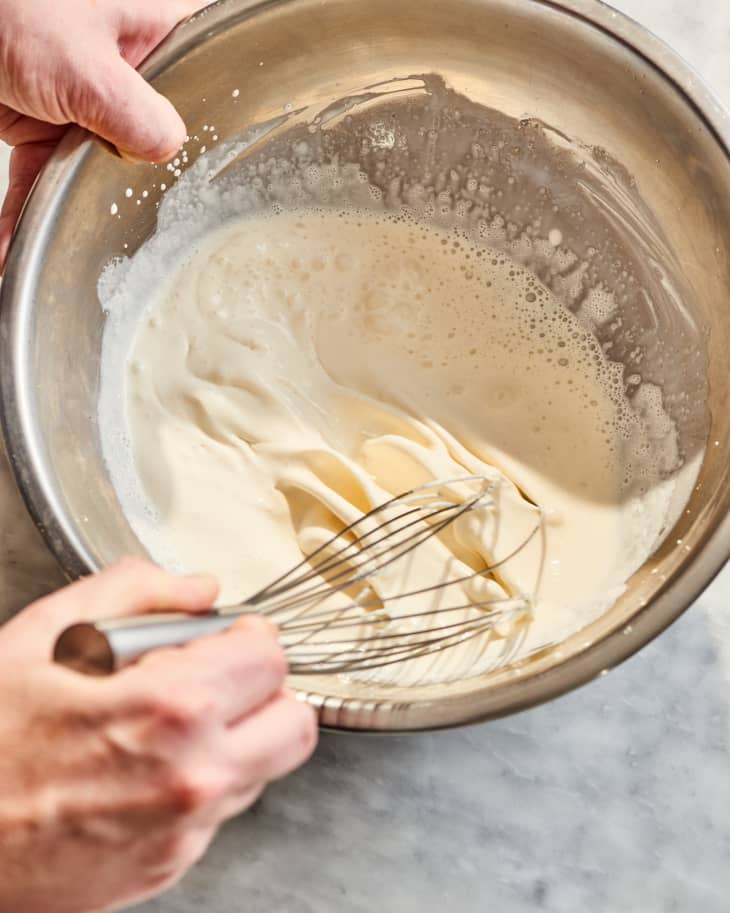
Whipped Cream Method: Hand-Whipping with Whisk
- Time: 2 1/2 minutes
- Volume: 2 cups
- Rating: 10/10
True confession: I have never whipped cream by hand until this test, assuming it would take too long and be too much of an exertion. I’m happy to say I was wrong!
For this method, I used my 12-inch balloon whisk and a stainless steel bowl. I couldn’t believe how quickly and painlessly I reached soft-peak stage, and how fluffy the final texture became in less time than using my stand mixer or electric hand mixer. Note that a balloon whisk is really the best whisk for the job here, but in a pinch you can use a French whisk. (Learn more about the types of whisks).
Whisking by hand gives you absolute control over how thick your whipped cream will be. The texture of hand-whipped cream was so luxuriously voluminous — just as thick and fluffy as the stand mixer method — that I’m considering making it this way more often.
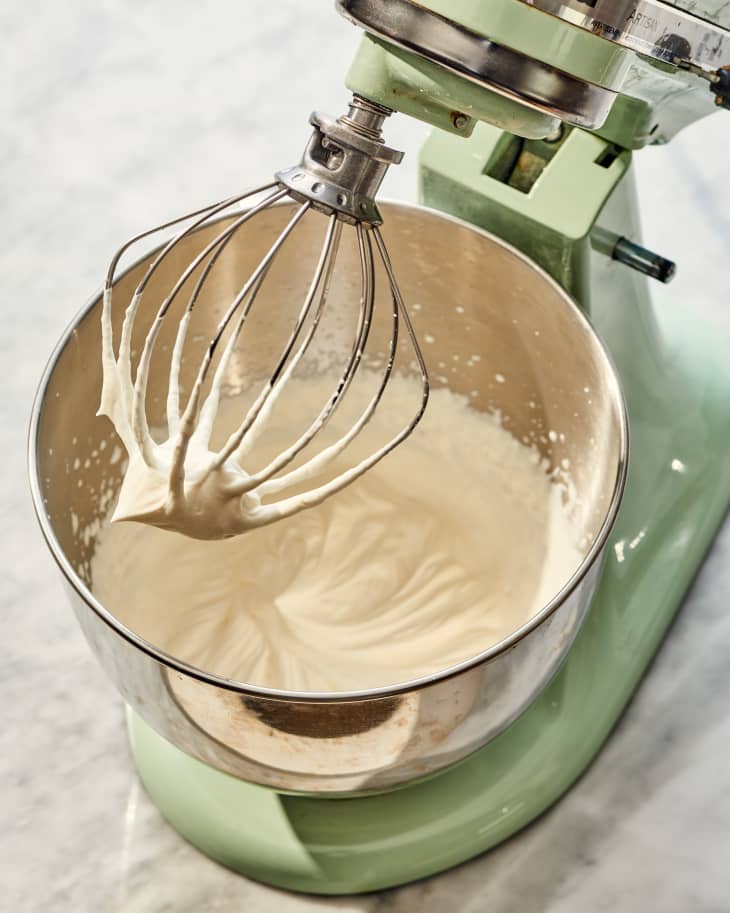
Whipped Cream Method: Stand Mixer
- Time: 3 minutes
- Volume: 2 cups
- Rating: 10/10
And then it was time for my go-to method: the stand mixer. For this test, I used the whisk attachment for my KitchenAid 5-quart stand mixer on speed level 8.
Read more: Our Guide to the Best Stand Mixers
After testing all seven methods, the stand mixer is still the one I’ll turn to for my whipped cream needs. It’s quick and efficient, but still lets you control the speed of whipping, so you won’t get grainy clumps — as long as you don’t walk away from it and forget about what you’re doing. You can make a 1/2-cup batch just as easily as a 2-cup batch. And the bowl is deep and wide enough that splatter is not a problem.
Now go forth and bake some pies and whip up some cream!
This post originally ran on Kitchn, See it there: We Tried 7 Ways to Make Whipped Cream and Found Several Great Options (and 1 Disaster)