These Large-Scale, Show-stopping Family Portraits Only Cost $5 to Create
This piece was created for Cubby, our weekly newsletter for families at home. Want more? Sign up here for a weekly splash of fun and good ideas for families with kids. Join us over on Instagram for more!
Cubby. Real solutions for unreal times.
Join us for a weekly dose of fresh, modern ideas for life at home with your kids.
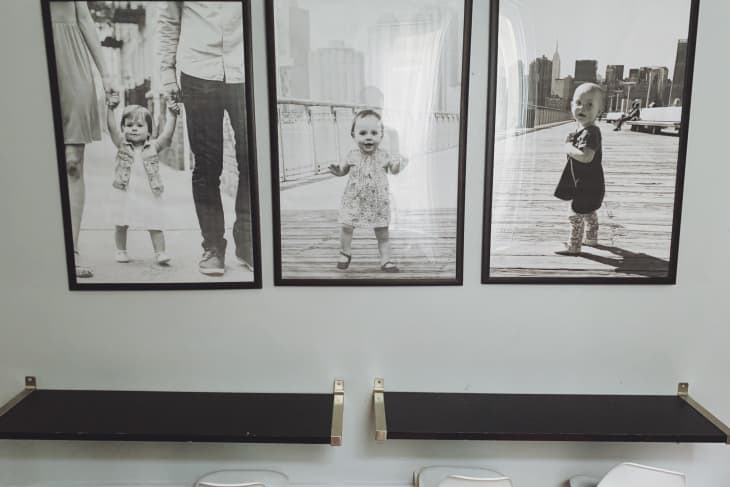
When our youngest daughter turned 1, we celebrated the momentous occasion by adding her portrait to the two other portraits that lined the walls in our girls’ small NYC playroom. Our gallery wall was inspired by a blog post from Chris Loves Julia. The playroom portraits capture our girls taking some of their first steps during the week that they each turned one.
The portraits are black and white, measure 24 x 36 inches, and cost us less than $5 each to print at Staples! Here’s a step-by-step guide to help you turn professional or iPhone style photos into modern, large-scale portraits.
1. Choose a photo with the subject in the foreground of the composition. Make sure it has white or neutral space in the background. The fewer distractions the better! This adds to the contemporary yet timeless feel of these oversized portraits.
2. Apply a black and white filter to the photo. I’ve used both the VSCO app and my standard iPhone default photo setting to apply filters, and both work well. Again, this black and white treatment brings an elegance to the portraits, and also allows them to shine in a variety of different decor styles!
3. Increase the photo exposure and contrast level on the photo. If using an iPhone, increase the exposure level to between 50-60. This intensifies the level of white in the photo and softens the level of darkness. Editing photos in this way reduces the amount of ink that is printed. Engineering prints at Staples start from $1.89 per page (depending on size) and print out of a large photo copy machine. The prints are not considered high-quality photo prints, and reducing the amount of ink that is printed goes a long way to ensuring a more crisp print.
4. Select the size of your print. Engineering prints are typically available in four sizes: 18” x 24”, 24” x 36”, 30” x 42”, and 36” x 48”. When printing the photos I recommend going to the physical store instead of using an online order. You will often have the option to print on large-scale copy paper or poster paper and in person you are able to explain your project and what paper type you prefer. Large-scale copy paper is the cheapest option and I’ve been impressed with the quality, especially considering the price! You also have the option of printing them on poster paper with or without a gloss finish. Those prints are considerably more expensive.
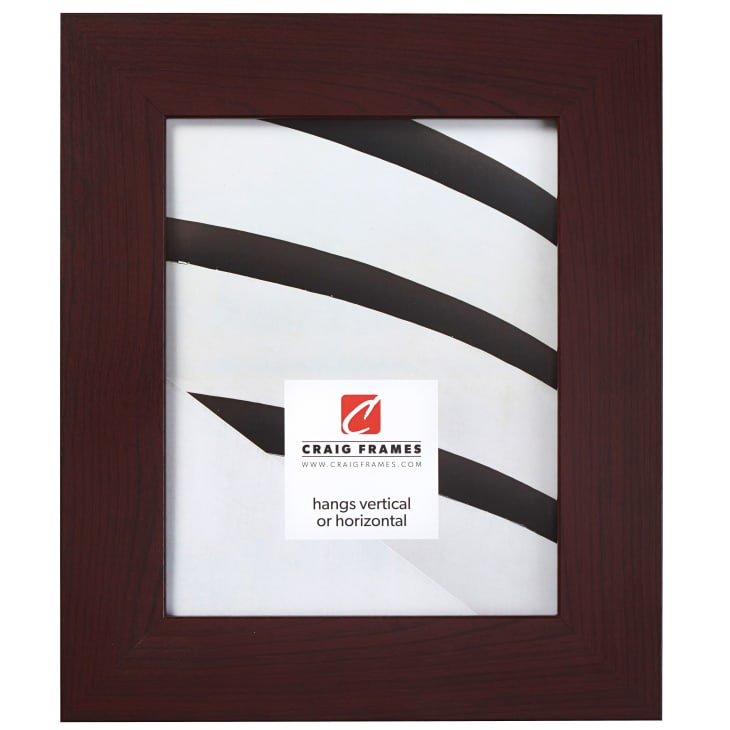
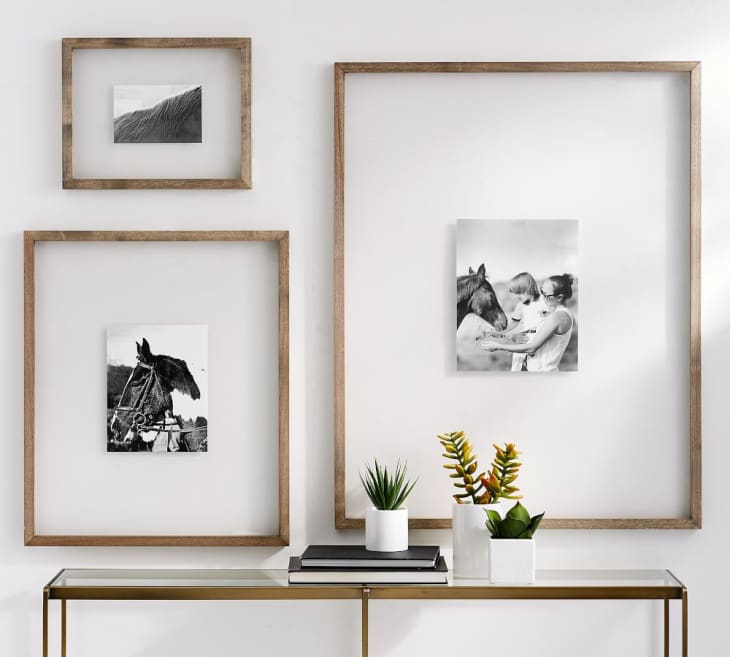
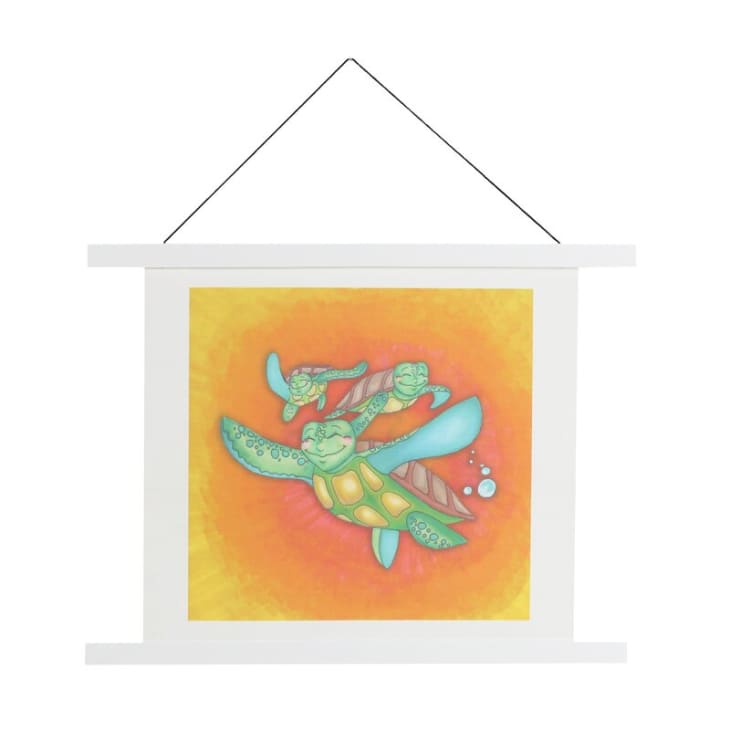
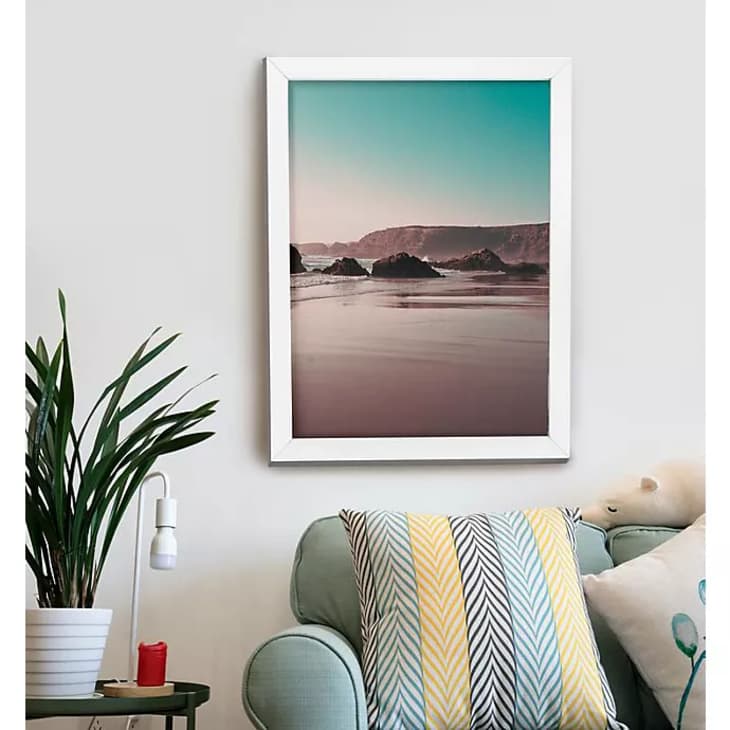
Plus, Some Affordable Framing Options:
After you have your print, which takes minutes to produce, don’t forget your frame. Here’s a roundup of four large portrait frames that will make these inexpensive large-scale portraits look like exquisite and elegant pieces of art!