
I Tried the IKEA ANTILOP High Chair Hack, and Now It’s So Much More Stylish and Functional
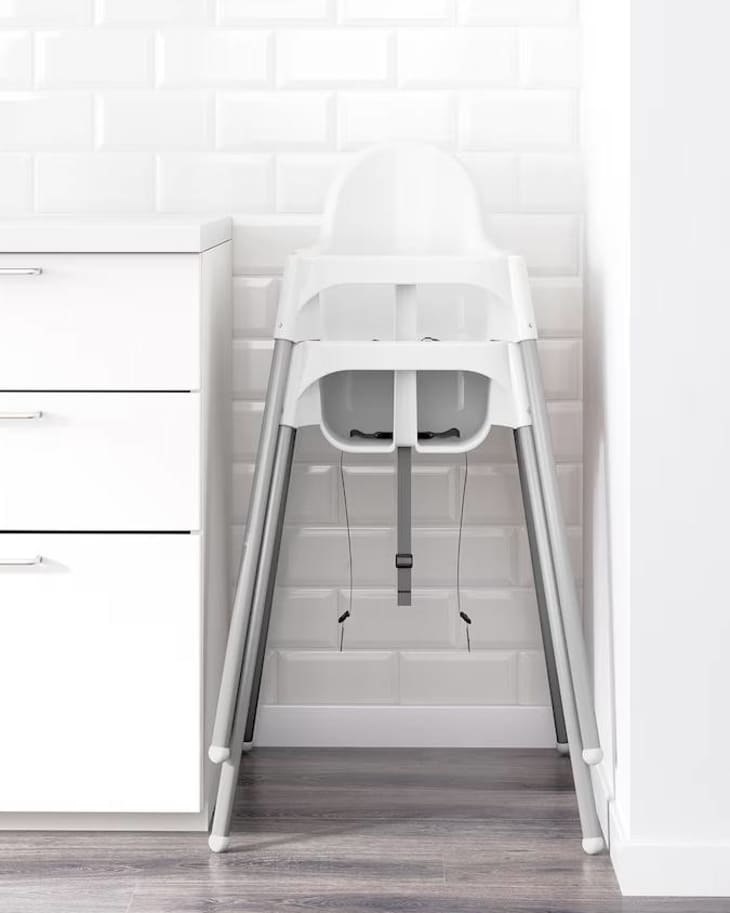
When I was looking for a new high chair, I did the first thing I always do: Ask my mom friends for their recommendation. The consensus among the group was that the IKEA ANTILOP high chair is sturdy, easy to construct, and cheap (less than $25!). The ANTILOP also has the benefit of being the preferred high chair at most of the cafes I frequent with my daughter (and my mom friends), so she’d be familiar with it.
There were a few things I didn’t love, however. From a functional point of view, the lack of foot rest was one problem I just couldn’t escape. My other issue: The ANTILOP isn’t the most stylish high chair on the market. So I turned to Etsy to add a foot rest and help me make my IKEA high chair a lot cuter.
Did you know you can buy and DIY a foot rest, leg covers, placemat, cushion and cushion cover to upgrade the ANTILOP? You can! And it makes a huge difference. Here’s what I did:
How I Hacked the IKEA ANITLOP High Chair
1. The Foot Rest
As previously mentioned, the one thing missing from the original ANTILOP from a functional point of view is a foot rest. Getting a foot rest is a good idea for a few reasons:
- First, it adds stability and comfort, keeping squirming and fidgeting to a minimum and potentially making them more engaged in eating. (It’s not a miracle worker!)
- A foot rest also helps your baby sit in the optimal position for chewing and swallowing, which can be especially important when you’re just starting to introduce your little one to solid foods.
- And, if you get a wooden foot rest, like I did, it looks cute too — especially if you wrap the legs in contact paper. (Keep reading).
Here’s what to do: Slide an O-ring onto each of the front legs. Place the foot rest at the desired height and secure the support clips underneath. Finally, move the O-rings down so they sit snuggly on top of the foot rest.
DIY+: If you’re a keen woodworker, you can also purchase a foot rest template on Etsy and make your own.
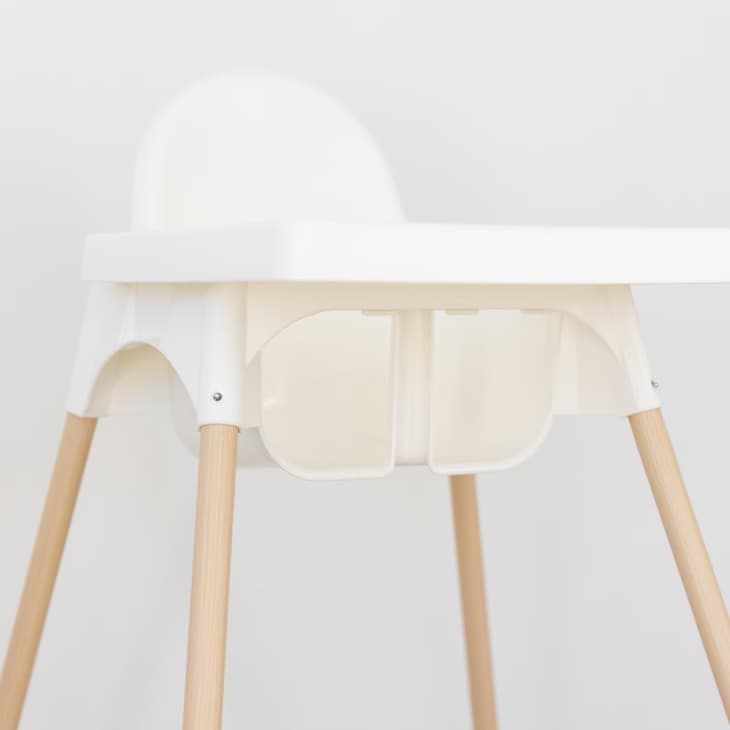
2. The Legs
To cover the high chair’s metal legs, I bought IKEA Highchair leg wraps from a local Etsy seller. I received four contact paper rectangles, one for each leg, cut exactly to size, which made it easy to apply.
Here’s what to do: It’s best to apply the contact paper before you put the legs on your high chair, and make sure you start with clean, dry legs. (This is especially important if you’re upgrading your ANTILOP after it’s already been in use.)
Starting at the bottom of the legs (the end with a rubber foot), carefully apply the center of the short end of the contact paper. Roll up, unpeeling the backing as you go. Once the contact paper is stuck straight vertically up the leg, carefully start to press it down around the leg with your thumbs, avoiding air bubbles. Repeat with all four high-chair legs before reattaching.
DIY+: For an even more DIY approach, buy wood-look contact paper. Cut four rectangles approximately 3.5 x 24 inches, and follow the above instructions to cover the legs.
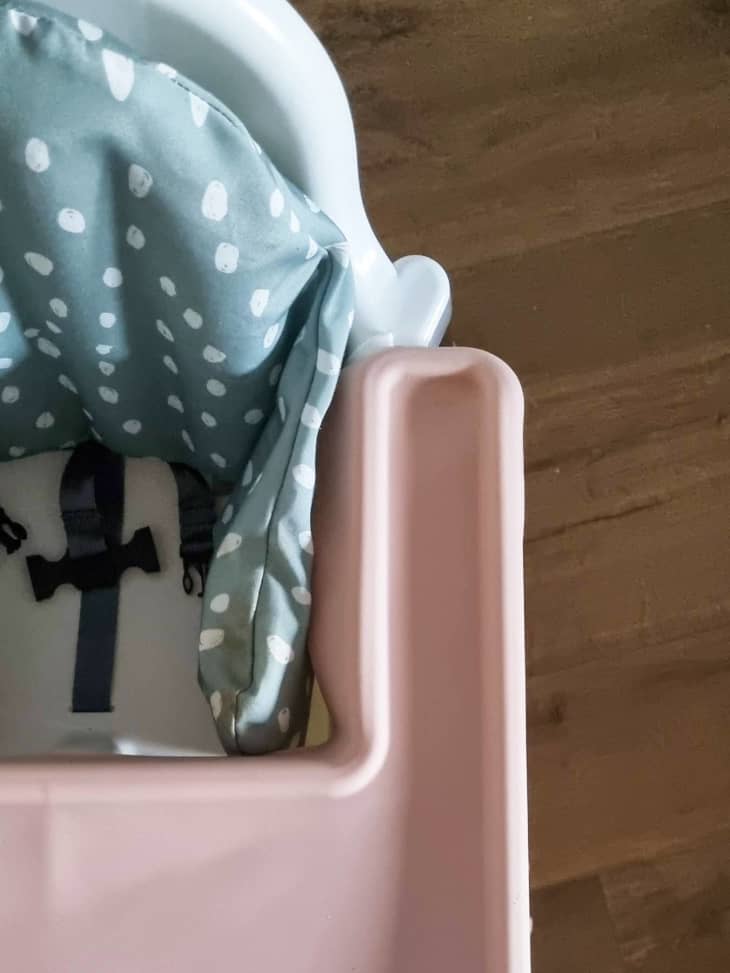
3. The Tray
I know from experience that, despite being wipeable, these white plastic trays will eventually succumb to the orangey red stains of tomato sauce and puréed sweet potato that come for any white baby items. It’s simply inevitable. Which is why I bought a silicone tray cover from a local Etsy seller.
The one I found is no longer longer available but Yeah Baby Goods sells IKEA high chair placemats in a ton of different colors and patterns. I’d probably go with the pale terracotta one (and you can get a matching splat mat, too).
Here’s what to do: The slip-resistant placemat is made from 100% FDA food-grade silicone and designed to fit the ANTILOP tray exactly, so all you have to do is put it down before mealtime, lift it off and give it a rinse when it gets dirty, and repeat.
Alternatively, you can buy the high chair without the tray and just pull it right up to your dining table. This works for some families (and is the most common configuration when the ANTILOP is used in cafes and restaurants), but I also use the high chair as an activity table while I’m cooking or doing dishes, and the only way for it to pull up to our table would be for my daughter to face away from me, which isn’t practical for us.
4. The Cushion
An inflatable cushion for ANTILOP is a great addition to the chair — particularly if you’re using it for a small 6-month-old who might otherwise slide around in the seat. IKEA sells a few cushion and cover options, but if the colorways don’t tickle your fancy, there is a world of (wipeable!) designs to pick from.
I chose a sage green and white one which suits my kitchen decor, but obviously, you should choose colors that speak to your own tastes. You could even get a range to swap and change with the seasons!
DIY+: If you’re handy with a sewing machine, you can choose your own fabric, buy a pattern, and run a cover up for yourself. Maybe you could match it to other fabrics in your kitchen, like curtains or seat cushions.
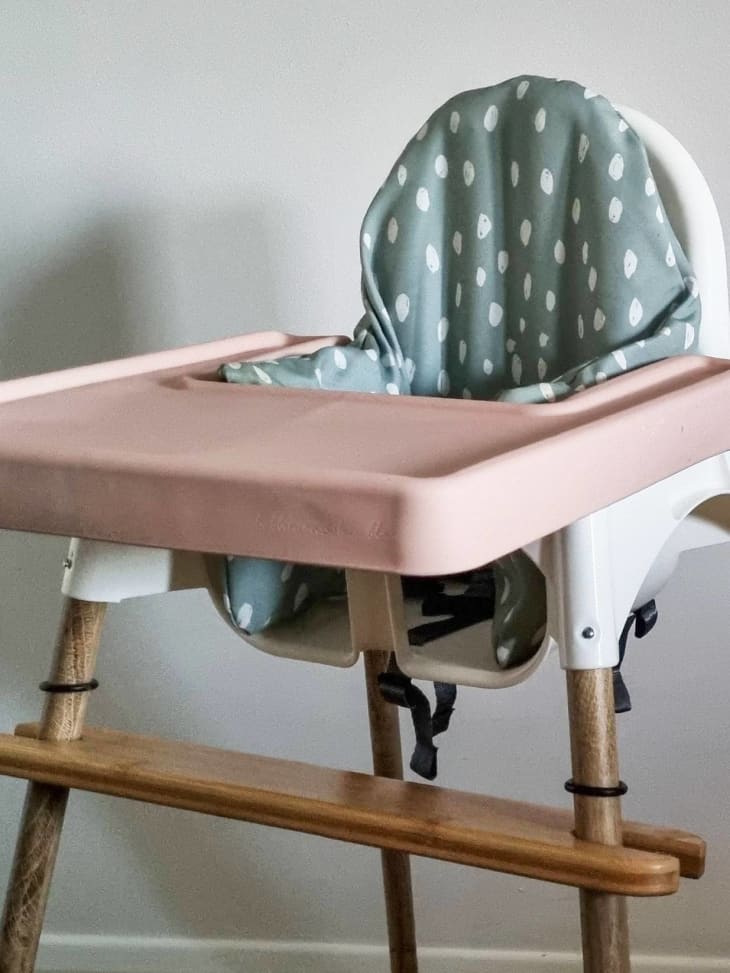
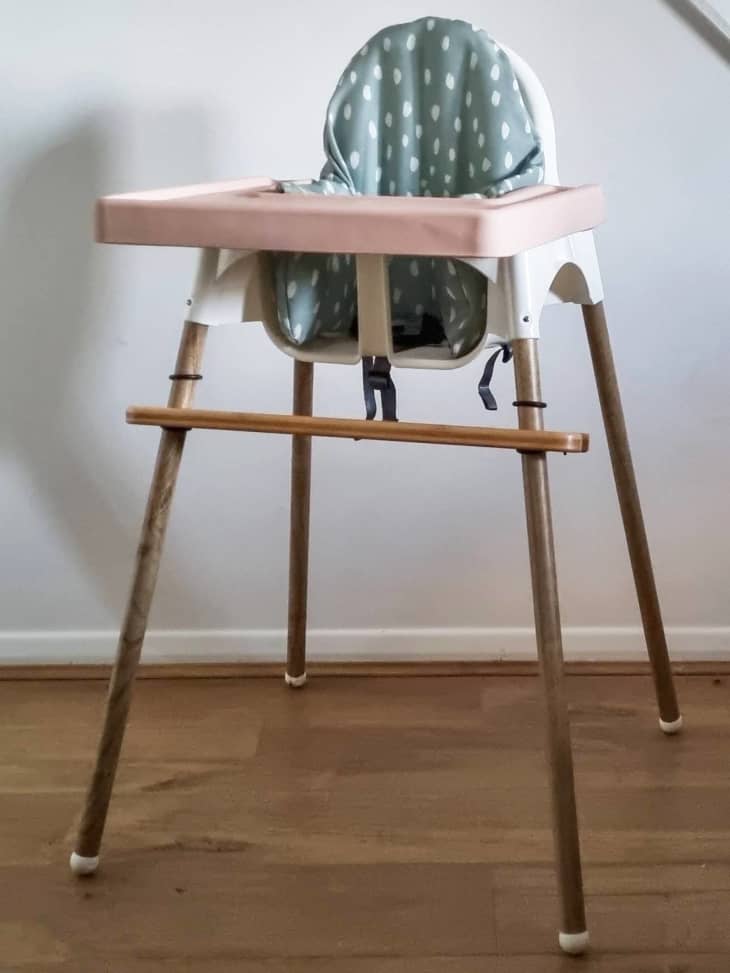
Ready for the big reveal? Here’s what my IKEA high chair looked like after all the upgrades:
Cubby: Eat. Live. Play. Families Together at Home.
Want more great home ideas for families? Sign up for Cubby’s weekly newsletter featuring our best editor-approved product recommendations, meal ideas, and all the kid’s room decor ideas you need.