
How Do I Build an Indoor Swing?

I want to build an easy indoor swing to occupy my two boys while we’re all cooped up inside. Got any advice?
Gene
Dear Gene,
You’ve come to the right place! A dad after my own heart. I did this exact project back when my daughter was almost 3 and it worked like a charm. Below are all my instructions.
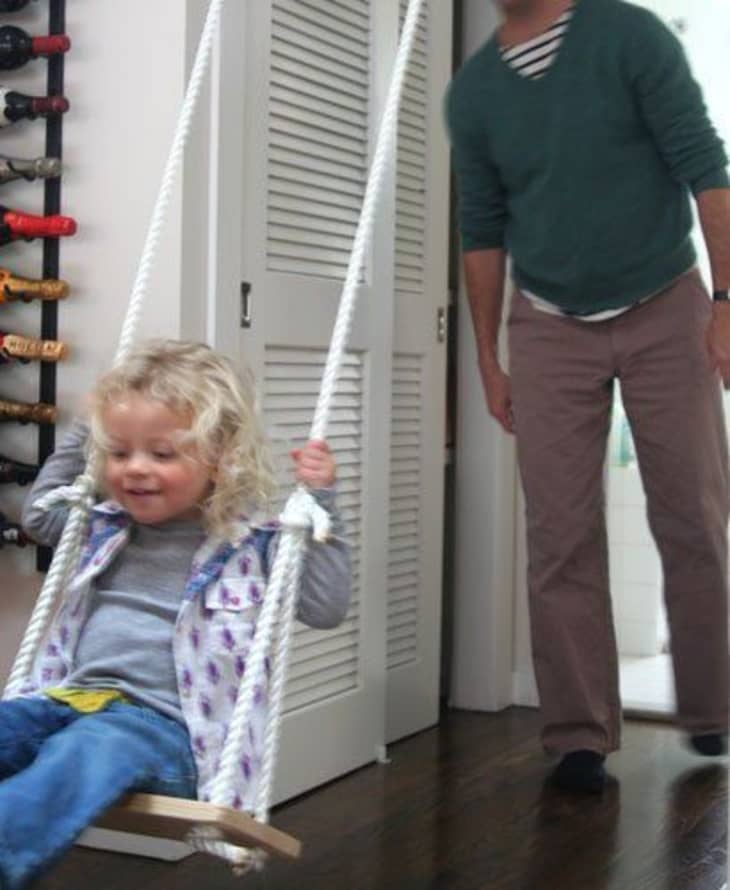
This past Saturday I woke up and was suddenly seized with the notion of making a swing to hang in our apartment for Ursula. It’s January. It’s cold. What would be more invigorating or entertaining than building a swing for a 2-year-old? As a person with many sudden enthusiasms, I was fully prepared NOT to finish this in one day, but it turned out to be as easy as I had hoped. Here, then, is a quick how-to in swing building, that can be adapted for children of any age.
Seriously. If you’ve got a strong enough beam or point of contact in your ceiling, you should have one of these in your living room for swingin’ on cold winter nights!
How To Build a Simple Swing
- 1 piece of wood. Mine was pine and about 1″x10″x14″ – $7
- 22′ of rope. Mine was thick, white nylon – $25
- Hardware: 2 clips and 2 ceiling screws – $10
My prices are all NYC hardware store prices (read: more expensive than usual).
I started by doing a quick bit of research and found these two sites helpful.
One is for an outdoor swing, but the ideas are the same.
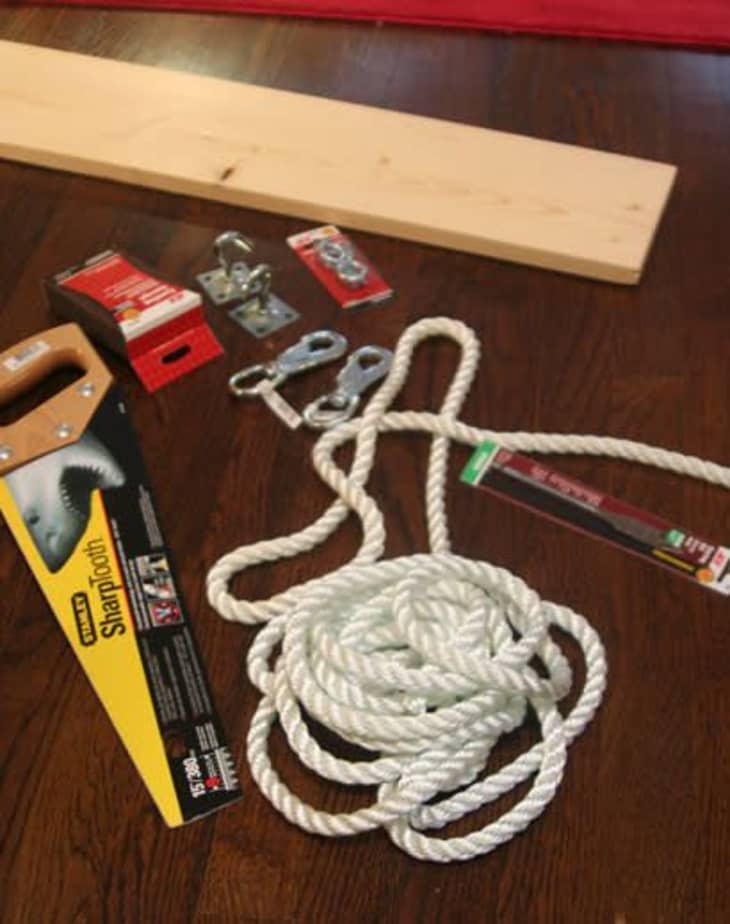
1. Went shopping and bought all the supplies I needed. I even bought a small saw, because we didn’t have one.
2. The board I bought wasn’t cut, so I measured Ursula’s butt and found that 14″ was the right width for her.
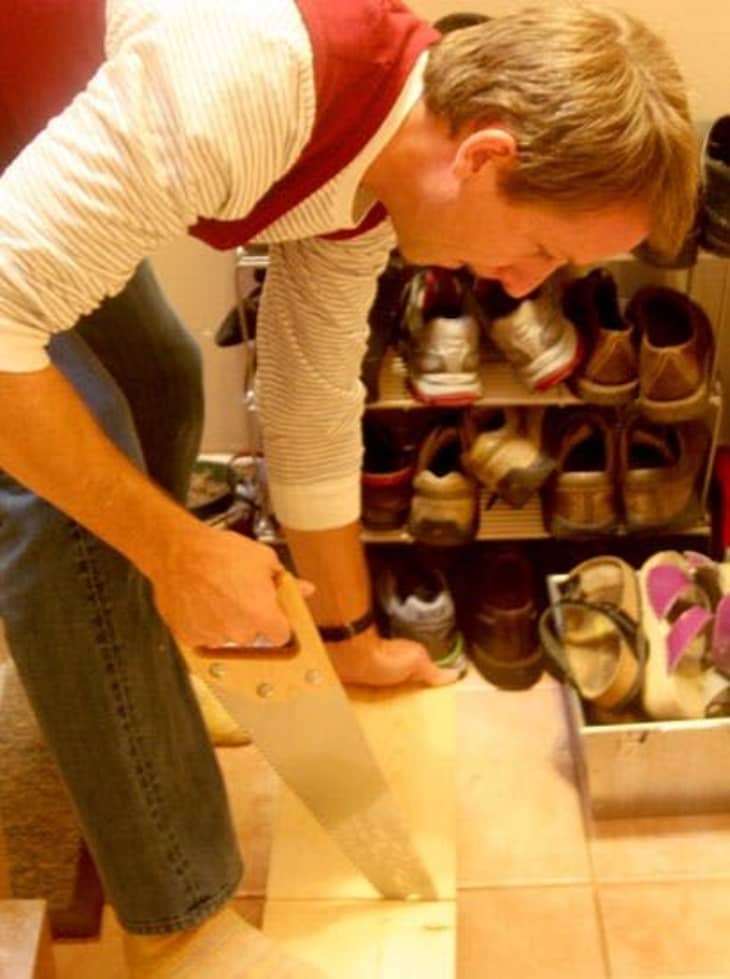
3. Cut the board in the hallway.
4. I bought a 5/6″ bit to drill the holes with and spaced them @ 2″ off of both edges. Two holes on each side is the way to go. One hole and it’s too tippy. My swing had no braces. I guess big kids and adults would need a brace on the bottom.
5. This is a key point and one the photo doesn’t show well enough. I used two screw eye bolts and was able to find a really strong part of framing in this doorway (I went towards the edges). Ursula doesn’t weigh too much, but to really secure a swing you want this point of contact to be firm. Getting a good bite of a 2×4 or going through a beam is a must.
6. The knots with the rope are all pretty simple, but it helps to have this one to join the swing rope to the rope hanging down from the ceiling. This is a Becket bend knot above which works really well for joining the two. At the ceiling, I used a simple overhand knot, but if you have more room or are going over a rafter, this knot below, a Bowline Knot, is a good one to use.
7. Getting the seat even isn’t too hard, but requires patience. At this point, I was ready to be done, but I held on and worked a little more till it was just right.
8. All done! The wood seat is waxed (didn’t show that) and I may paint it. The clips that clip to the ceiling are great for quickly taking the swing up and down. The swing is compact enough that it fits into a drawer in our closet.
Best, M
