
Before and After: A $700 Project Doubles This Family’s Laundry Room’s Storage
As far as organizational systems go, standard issue usually works fine — but if you want to really make the most of space, a custom setup is the way to go. With a little bit of time and sweat equity, you can create shelving, drawers, cabinets, and more that actually cater to the way you use your space.
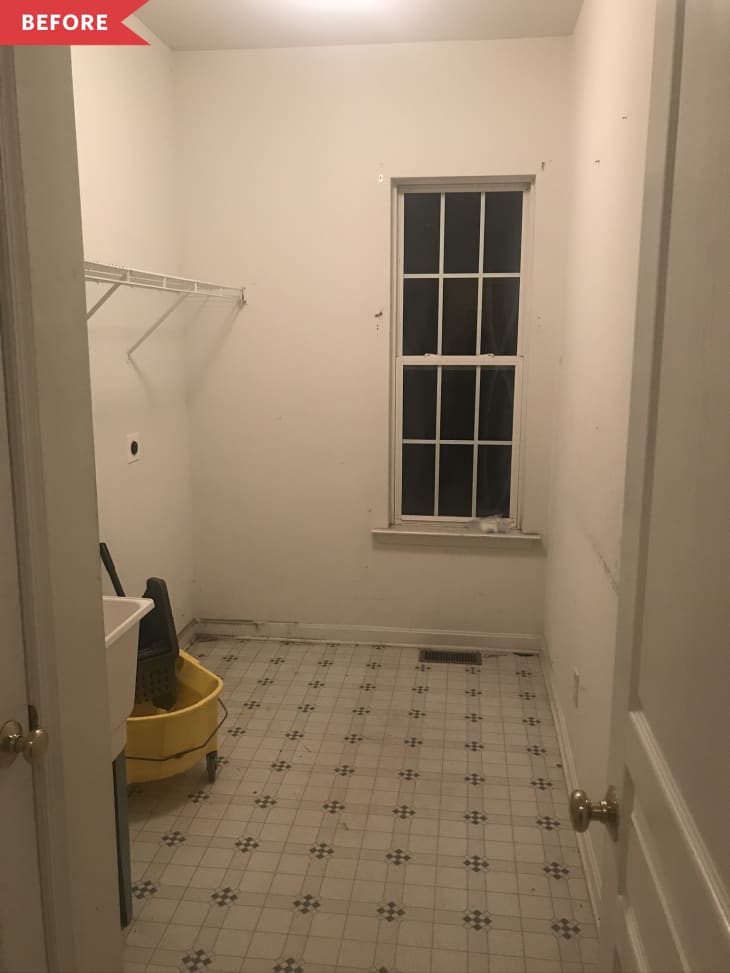
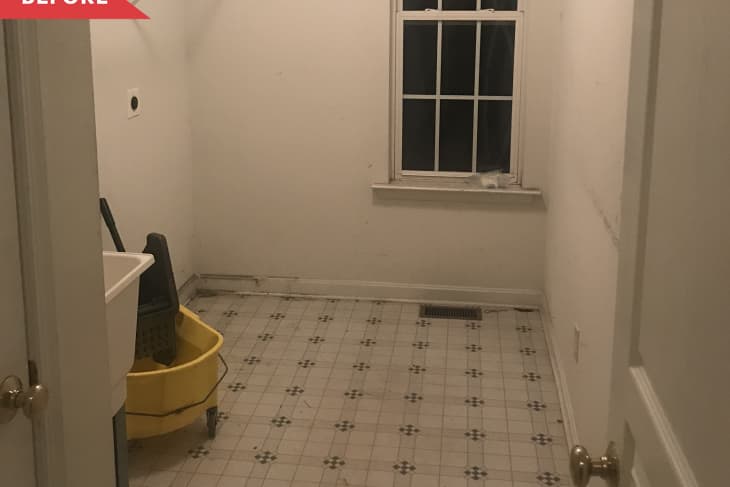
That’s certainly the case for Yamilec Branch (The Grounded Home) and her laundry room. When she and her family moved into their home in 2018, “it was a standard builder grade laundry room,” she says. “It had a storage closet and one of those ubiquitous, white wire shelves in the main area.”
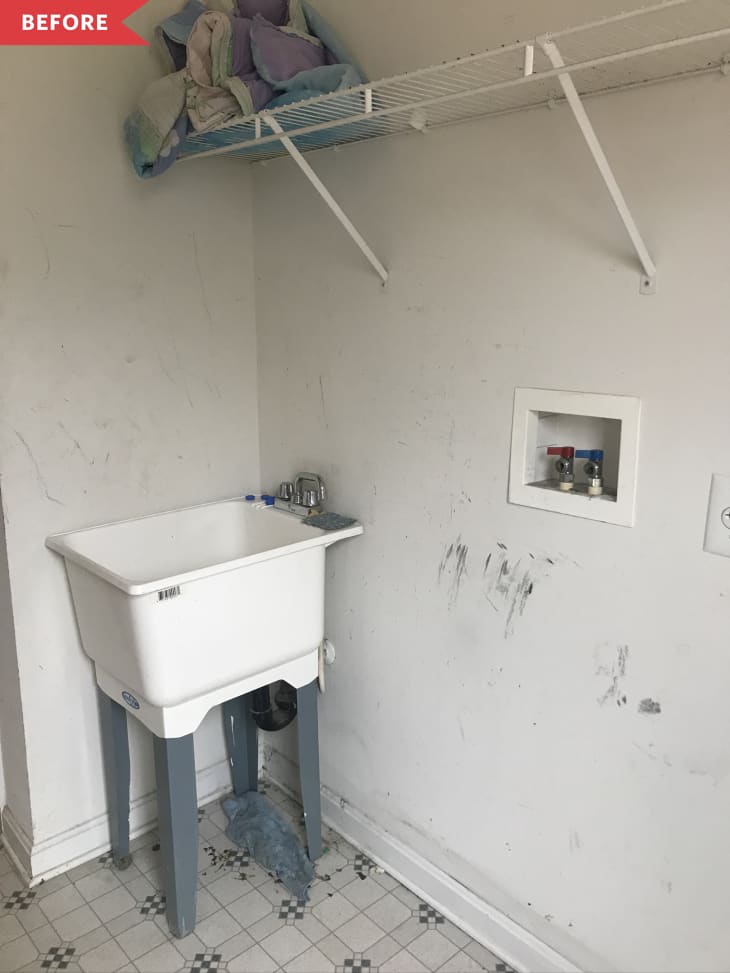
While it was functional, the layout of the shelving wasn’t really making the most use of the space. And aside from that, the room was looking worse for wear, with old vinyl floors and dingy white walls.
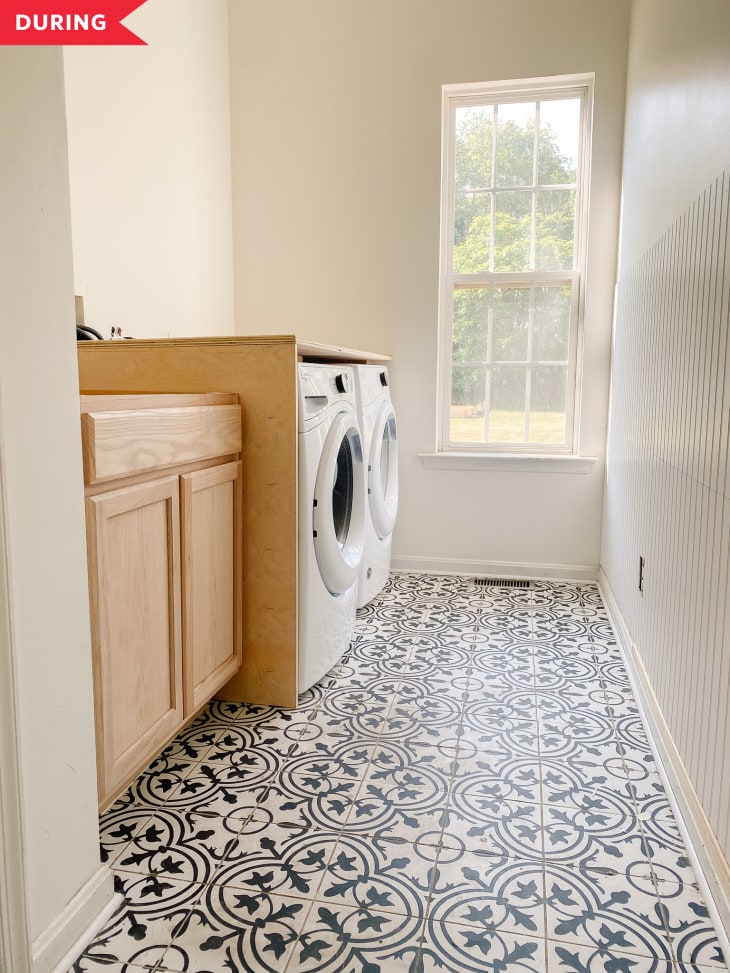
After cleaning the room up, Yamilec decided to tackle replacing the old vinyl floor first thing, calling in her dad for help in installing new porcelain tile with a black and white pattern. “We prioritized the floor tile because moving a washer and dryer is never fun and once they were moved in, we had zero intent of shuffling them around again,” she says.
Once the new floors were in, the laundry room project took a pause for a couple years while Yamilec worked on other parts of the house. But this year, after completing her kitchen renovation, Yamilec turned her attention back to the laundry room.
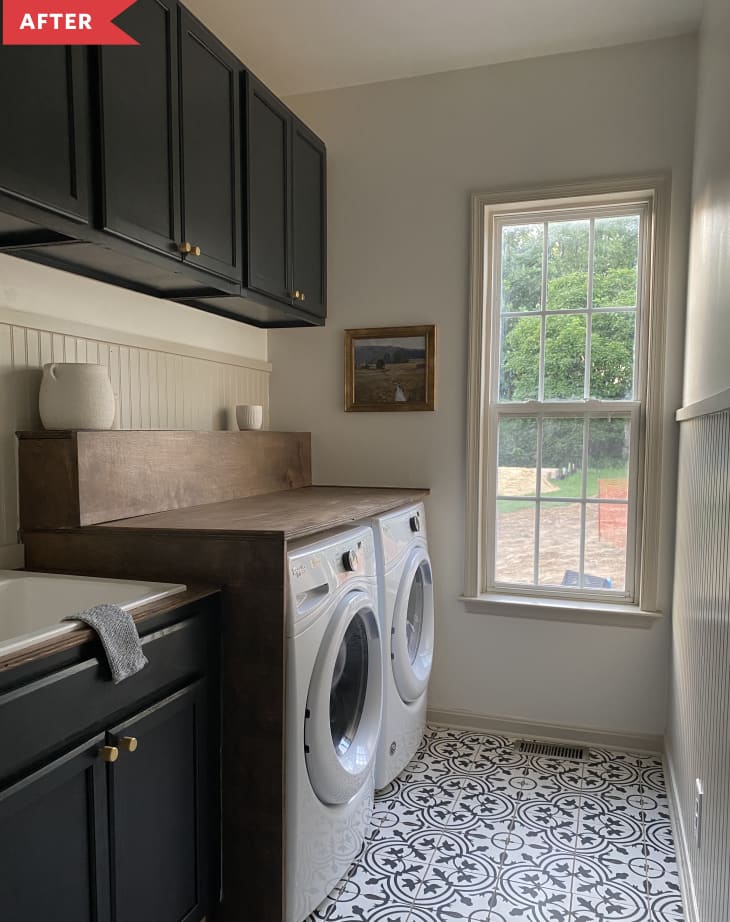
Over six weeks, Yamilec completely transformed the laundry room. She started by installing new beadboard wainscoting, then followed it with a plywood counter for her washer and dryer that she stained in a warm dark brown tone.
“The biggest obstacle was figuring out a way to cover the washer and dryer hookups while still making them accessible in case of an emergency,” Yamilec says. “I wasn’t a fan of most solutions I found online and so I came up with a pretty neat one by using a removable front panel that’s attached with heavy duty magnets.” The result is a totally seamless look that’s also practical.
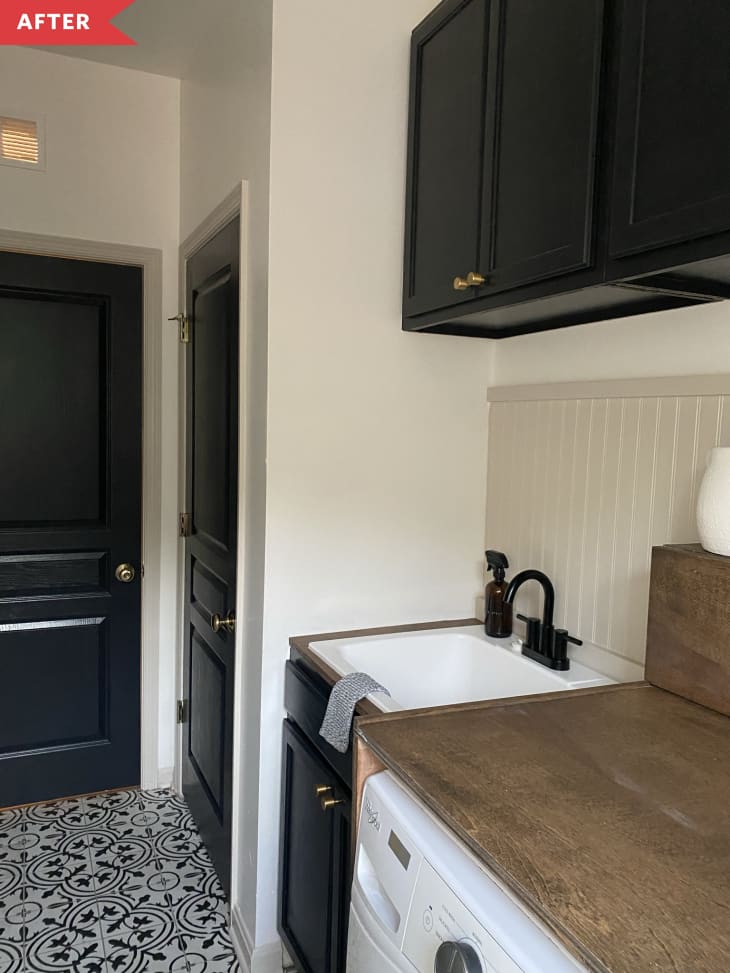
Yamilec followed the countertops with new pre-built cabinets — both uppers and lowers — that she installed herself before painting them black and adding chic gold hardware.
“This was my first time installing pre-built cabinets and it was a lot easier than I thought it would be,” Yamilec says. “If I could do anything differently it would be to hang the cabinets before building the cover for the washer and dryer. Trying to balance a cabinet without putting your full weight on a piece of plywood was tricky!”
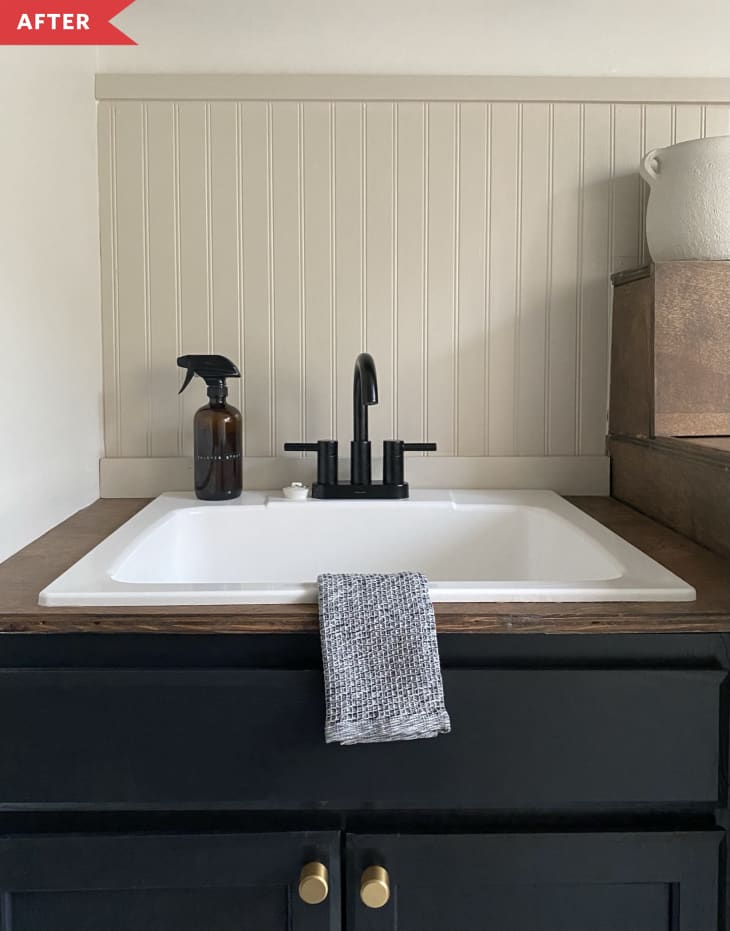
Yamilec also added a new porcelain sink with a sophisticated black faucet, which is a huge upgrade from the old plastic freestanding sink.
The overall feel of the new laundry room is a complete 180 from the old one — and cost just $700 to pull off. And now, instead of a dingy work area, it feels like a fully decorated room that fits in with the rest of Yamilec’s home.
“Most laundry rooms tend to be bright and crisp feeling but I knew I wanted to mimic the feel of our kitchen in this space,” Yamilec says. “I think it’s an unexpected surprise when you open the door and the feeling it evokes is my favorite thing about the whole space.”
Inspired? Submit your own project here.
This post originally ran on Apartment Therapy. See it there: Before and After: A $700 Redo Doubles This Dingy Laundry Room’s Usable Storage