Before and After: This $450 DIY Laundry Room Redo Went from Dreary and Dysfunctional to Bright and Cheery

Homeowner and DIYer Becky Marshall’s (@flippingtheflip) laundry room redo has six mini-DIY projects that make the whole room sing: a waterfall folding counter, a sink cover, a stenciled accent wall , a sputnik light fixture, decorative shelves, and a pegboard for tool storage — all in a 9 x 5 space, and all for about $450.
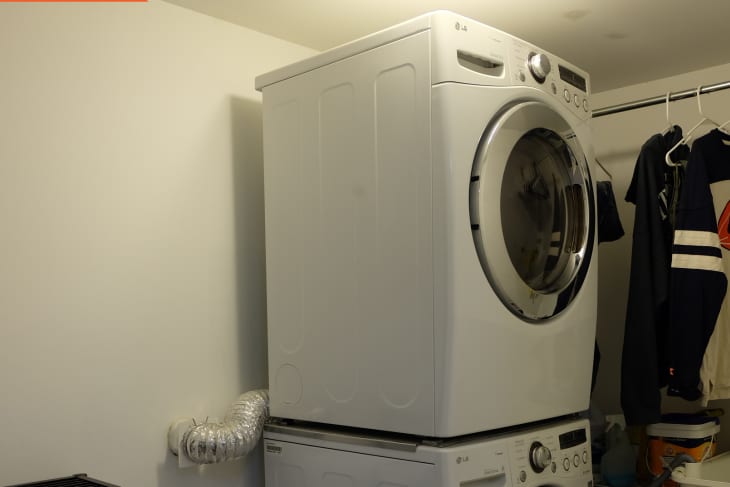
Becky wanted to make a change because her laundry room before “was a mess,” she says. “The gas pipe stuck out way into the room, the breaker box was in the corner, there’s only electricity on one wall, and the laundry sink could only be in one place. It was very tricky, not to mention a cave — dreary, sad, and totally dysfunctional.”
Becky says “something needed to be done to make this a cheerier space and make it function like a laundry room,” and her updates are cheery indeed — not to mention budget-friendly. Becky did all of the work herself except for unstacking the laundry machines and shortening the gas line.
Becky started by brightening up the room’s color scheme. “Being very budget-conscious from the get-go, to start, I painted the walls using leftover paint,” she says. She primed using a spray primer and then created two striped walls and one accent wall with a wood-patterned stencil, one of her favorite parts of the redo not only because looks “super cool,” she says, but also because it helps disguise the breaker box in the back corner.
Next, Becky replaced the sole “boob light” with a sputnik fixture. She says she went with this choice because it would spread light around the windowless room in the basement.
After that, she upgraded the “boring white laundry tub sink” by building a cover for it with wood lath, replacing the sink legs with wood dowels for a higher-end look. She also installed a tile backsplash and a pegboard for paintbrush and tool storage above the sink. Becky says this is the one part of her project she’d change — and she just might in a DIY down the line. But for now, the pegboard (and the drying rod above) help with hanging storage.
Her most ambitious (and most expensive) project was the waterfall counter, but Becky says “it was entirely worth it to have folding space.” She used cheaper plywood under and a nicer layer over it to save on cost.
Lastly, Becky added decorative shelves from reclaimed wood. (One shelf she got for free from a local wood shop that was closing.) Becky bought some brackets on Etsy and spray painted them “a bright cheery yellow” and then added IKEA accessories.
“Honestly, I love everything about the after,” Becky says. “The fact that this space actually works now is tremendous. The icing on the cake is that it’s so fun to look at.”
This post originally published on Apartment Therapy. Read it there: Before and After: This $450 Laundry Room Redo Includes 6 Seriously Impressive DIYs