

Cubby’s Essential Guide to Art Supplies: What to Buy and How to Organize an Art Station for Kids
Kids are creators — messy, wild, and sometimes destructive little creators who need a few basic art supplies to get their juices flowing. Setting up and stocking an art station for kids can be a bit overwhelming — especially if you yourself aren’t naturally drawn (pun intended!) to the joy of discovering the latest and greatest in art supplies.
With simplicity and organization in mind, I’ve compiled a guide of my favorite kids’ art supplies that will give you a recipe to get stocked and organized. Whether you’re looking to create an entire art room, or just a small stash for when little ones come to visit, this starter kit will guide you.
This piece was created for Cubby, our weekly newsletter for families at home. Want more? Sign up here for a weekly splash of fun and good ideas for families with kids.
Cubby. Real solutions for unreal times.
Join us for a weekly dose of fresh, modern ideas for life at home with your kids.
The Best Way to Give Kids Art Supplies: An Accessible Art Station
Self-serve art stations empower kids, and in the current climate where parents and kids are spending all their time at home, anything you can get your child to do for themselves is a gift! This guide is created in this philosophy: building an art station that is always available and accessible to your kids, not hidden away on a top shelf.
Self-serve art stations empower kids.
What’s in This Starter Guide
We’ll cover a few main topics in your art supply adventure. Here are quick links to each section!
The Best Art Supplies to Buy
The big question: What art supplies to buy? If you’re starting fresh (or starting over, if your art supplies have gotten worn out and used up) here’s a simple recipe for an art supply capsule collection.
Don’t be afraid to start small. If you don’t have a lot of room and are starting from scratch, grab the basics. It might not seem like a lot, but it’s the best place to start. After a few weeks you can see what your child is drawn to (or what you’re comfortable with!), and then you can slowly start to add in more supplies from there. No one has ever accused me of being a minimalist, but I have to say, this is one area I feel it’s important to start small. Having an entire wall of art supplies for kids right out of the gate can be too much, so start small with plans to grow.
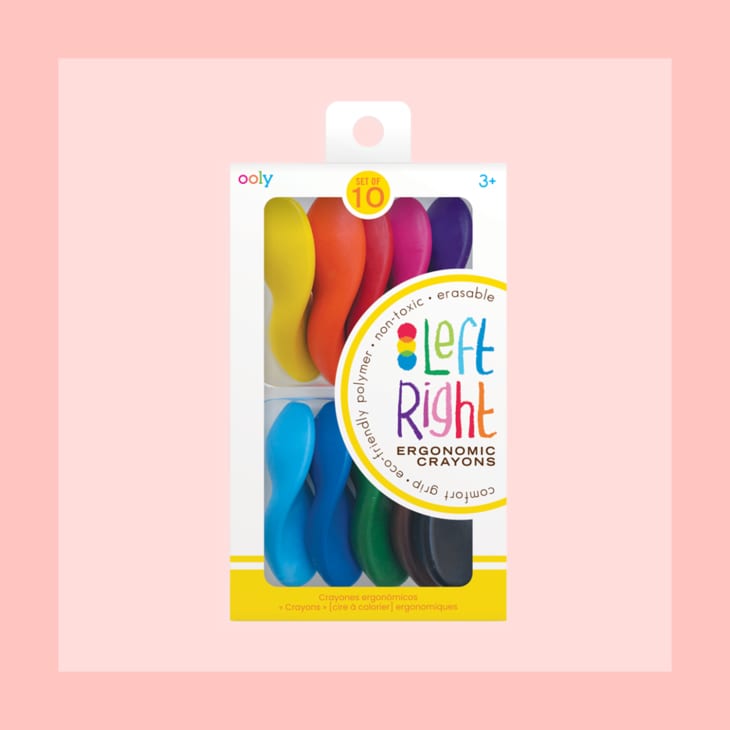
We started out with Left to Right crayons that are perfect for chubby little toddler hands, then moved on to other sets as our daughter got older.
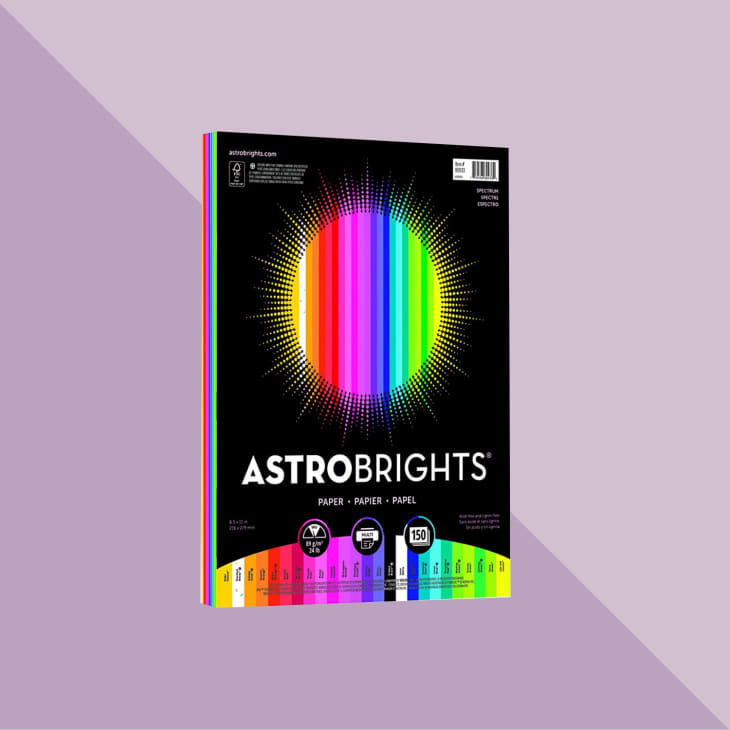
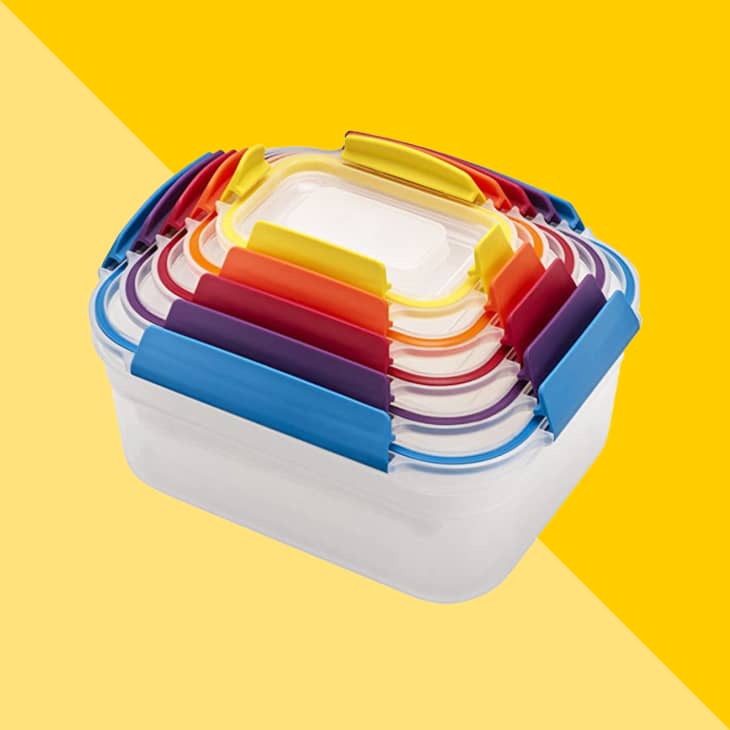
Construction paper is great, but we’re big fans of Astrobrights. It’s smooth and heavier than construction paper but not as heavy as cardstock. You can paint on it and don’t have to worry about tearing the paper, or color on it just as easily with crayons or markers.
Hot tip! Use large binder clips to keep stacks of paper neat and tidy. The clips are difficult for little hands to release, so just be sure to leave 10 to 20 sheets out of the binder for your kiddos to help themselves to.
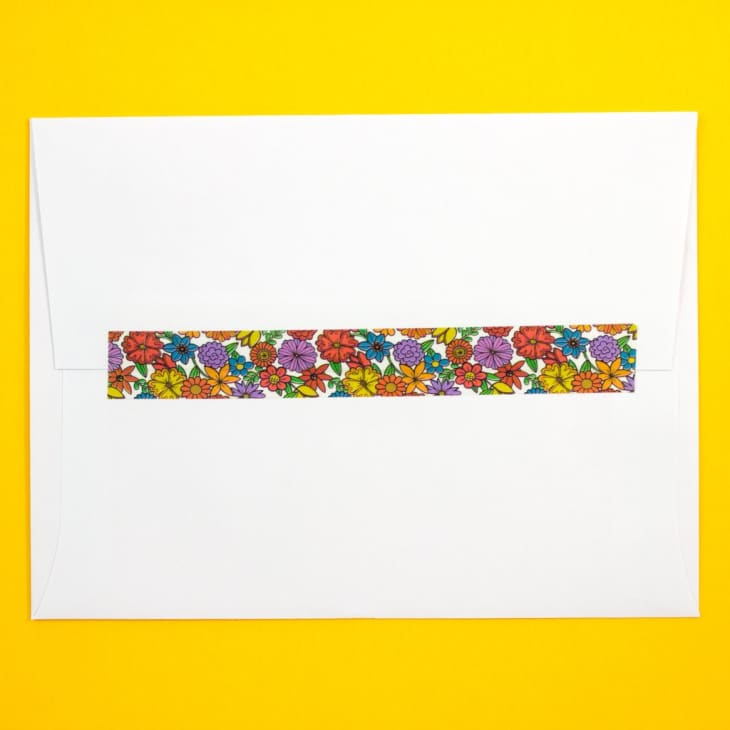
We are big fans of washi tape in our house — stickers, not so much. Stickers tend to be more trouble than they’re worth (there are stickers on our radiators that have now been there for four years because they’re too much of a pain to remove!) but washi tape is just as fun to use and doesn’t cling to surfaces as permanently as stickers!
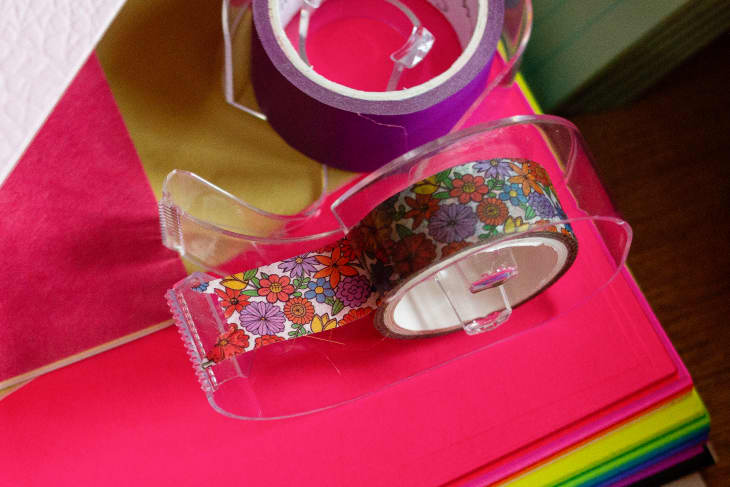
Hot tip! We save empty tape dispensers and pop in a roll of washi tape to make using it a bit easier for our kiddo.
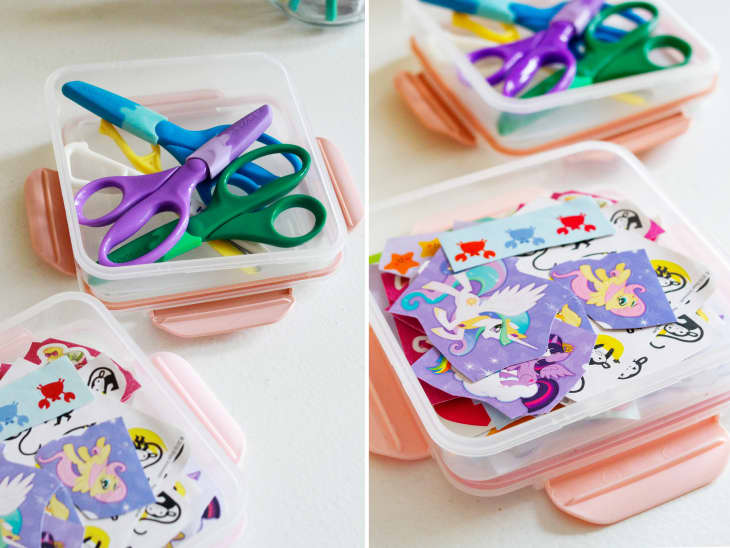
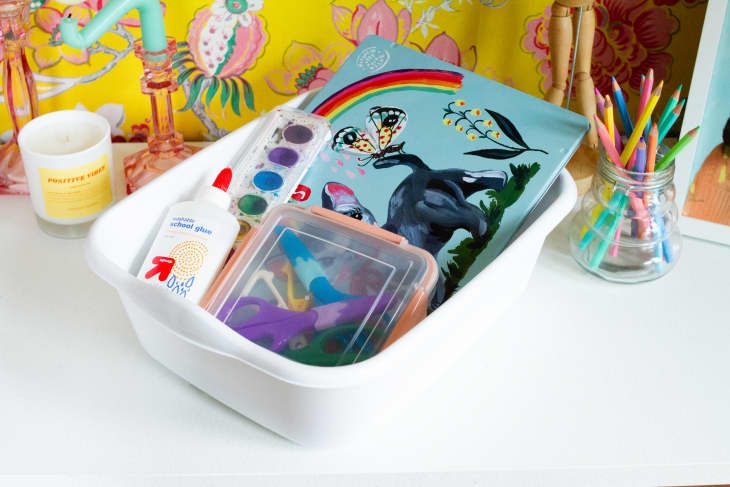
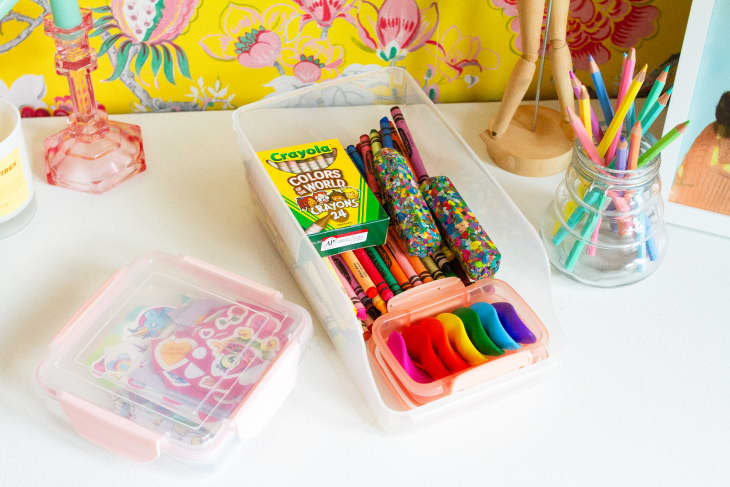
We do keep a limited array of stickers. I cut sheets into smaller portions and stash them in an easy-open container. I’ve found my daughter really enjoys sifting through the container to discover what’s inside, and it just keeps everything super tidy.
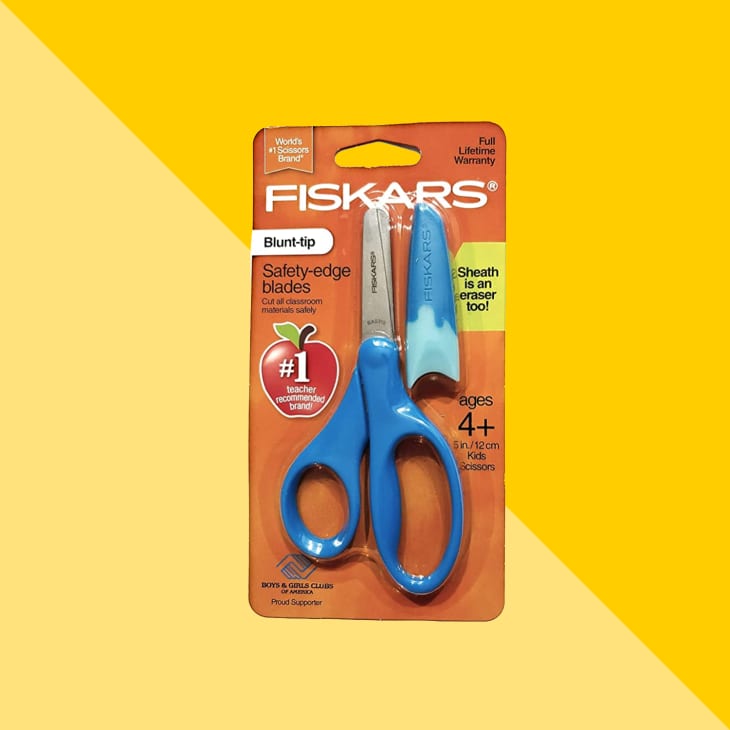
Scissors are next-level for kids. They open up a whole new world of possible creations and really encourage creativity, and the amazing thing is that there are SO many to choose from depending on the child’s skill level. If you have a future cosmetologist toddler, consider a pair of training scissors. If you trust your child to not cut off their curls, safety scissors (with a blade guard) are the way to go
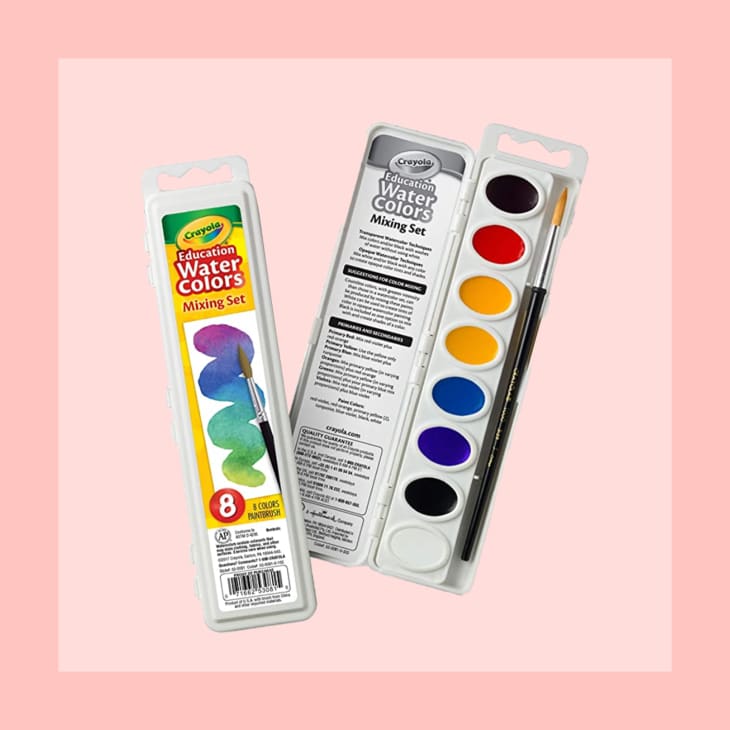
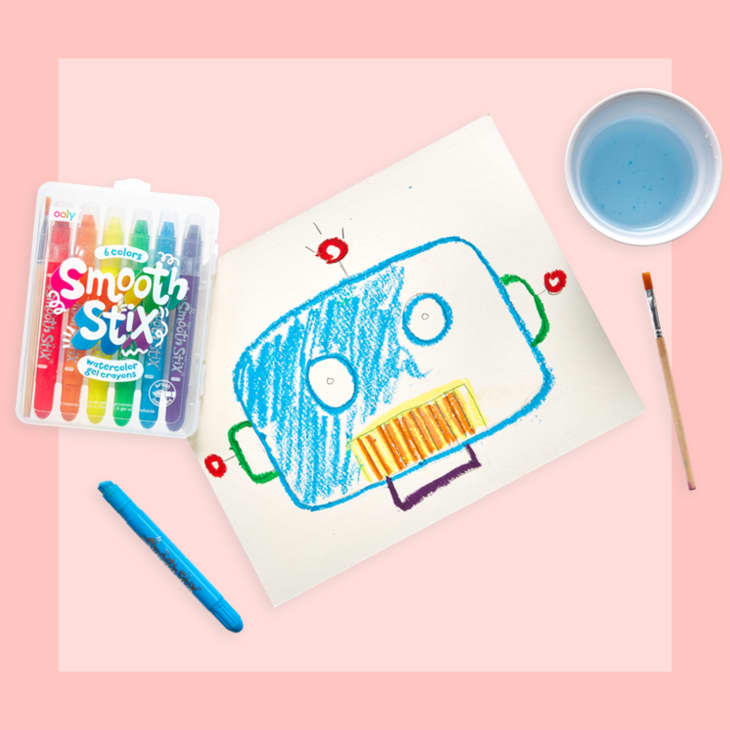
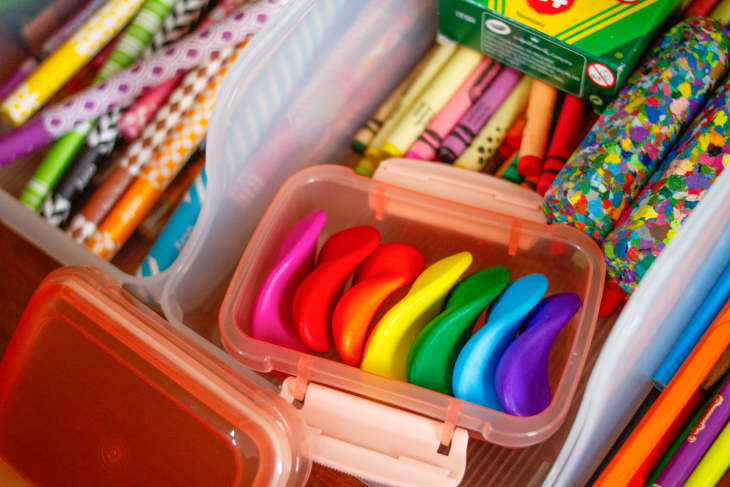
A simple set of watercolors is perfect for beginners, but there are so many other varieties to choose from if your child shows interest. We recently added Smooth Stix watercolor gel crayons to our paint drawer and have had so much fun with them. They’re appropriate for almost any age, including adults!
How to Create & Organize an Art Station
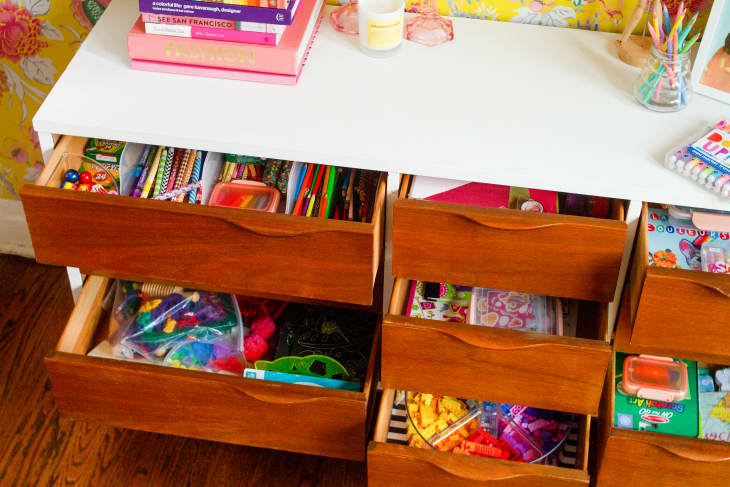
We tend to purchase new art supplies pretty regularly for our daughter as she develops an interest in art, which means we’ve had to adapt our storage and organization ideas as the collection grows. The first “art station” we had was an IKEA RÅSKOG cart that had previously been used as a diaper supply station. It was great in the beginning, but quickly filled up and overflowed and just looked incredibly messy all the time. I wanted a solution that would keep our quickly growing supply neat, organized, and, most importantly, hidden away in our small apartment.
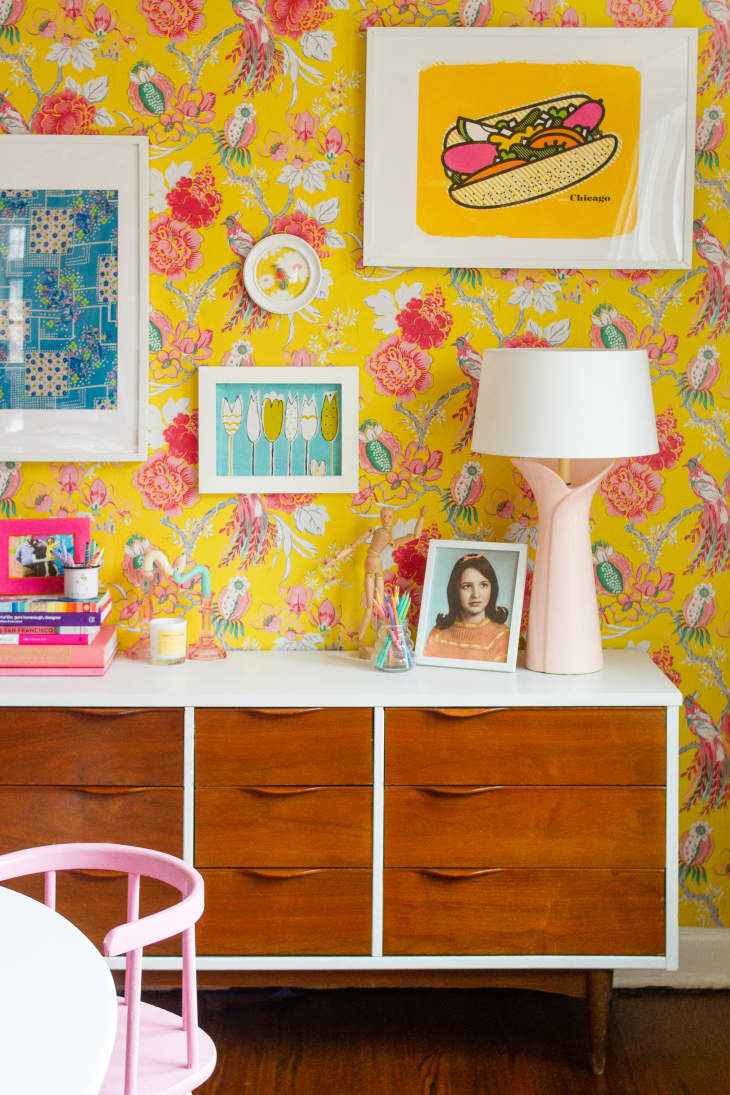
One day while checking out the furniture section at the thrift store, I came across a very cute mid-century credenza that was in need of lots of TLC. It was a steal, priced at $4.99. I brought it home, reinforced the legs, painted the badly scratched exterior, and found the perfect spot for it in my dining room. Since most artwork is done at our dining room table, it was the perfect solution for keeping our supplies organized and hidden away. Since stocking it, it’s stayed mostly clean and organized, and the best part is that my daughter is learning to put supplies back where they belong!
Here’s how I finally got organized, with tips for building your own art station.
1. Choose a storage location that kids can access freely.
Consider the age of your child and make appropriate items available for them to access. If there are items you don’t want accessible all the time, store them in containers that can easily be set out and put away at your convenience.
It’s a bonus if your art station is in an inspiring area, but don’t feel like you need to go all out; a colorful room or a window to look out of is all the inspiration a child needs to get started.
2. Choose a piece of storage furniture that is easy to access (but still closed-off).
If you have the space, create a station with a desk and chair (bonus points if it’s a tiny chair — kids love those!) that is accessible and allows your kids to jump right in on art projects whenever they want.
For smaller spaces, consider using a piece of furniture like a buffet or dresser that is still accessible, but can be closed off to hide away the items inside. Our apartment is small and doesn’t have a lot of space to add in a dedicated kids’ art station, so instead we used a dresser that sits next to the dining room table.
3. Organize supplies into two main sections (plus a secret third location!).
Our first section in the art station contains free-for-all, or self-guided supplies, which are the supplies we feel comfortable letting our daughter use at will. The second area is for supplies that require adult supervision (in our home, those would be paint, scissors, oil pastels, and glue). Obviously what is in each section will vary by home and by children’s ages.
(The third section is for your stash of back-up supplies, which we’ll talk about below.)
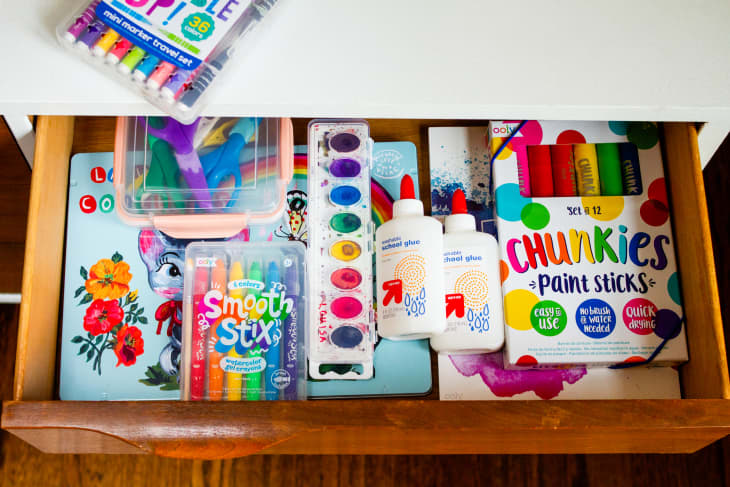
4. Organize art supplies by type in smaller boxes.
Depending on the amount of space you have, break your storage and organization sections down even further: If you have just a single drawer, try not to cram a ton of stuff inside, and use boxes and containers whenever possible to organize and group items.
- Drawing: Crayons, markers, pencils, stencils
- Paper: Notebooks, scratch paper, construction paper
- Paint: Brushes, smock, water cups, splat mat
- Craft: Glue, Popsicle sticks, pom poms, stickers, tape
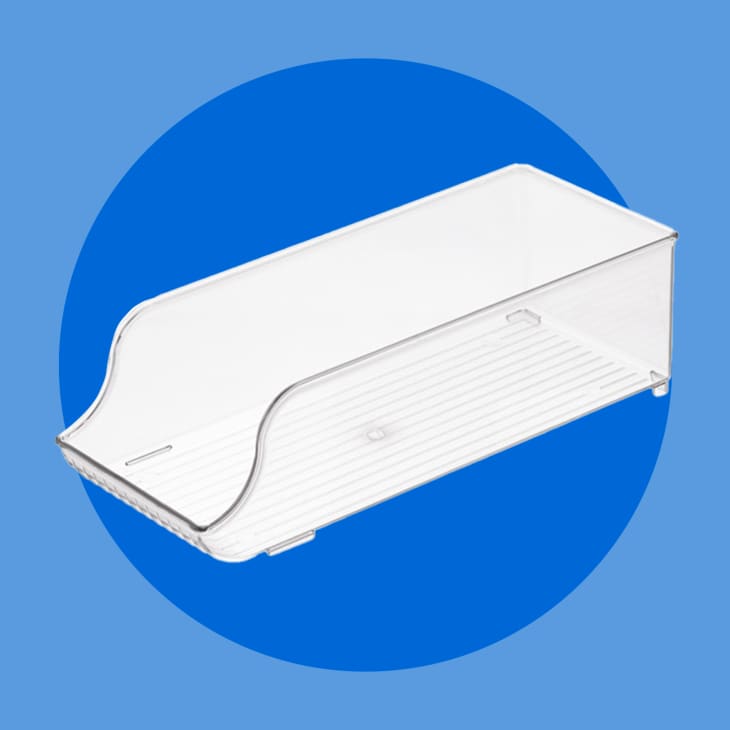
Keep it simple: Stock up on either one coloring tool (crayons or colored pencils) or decide to have a few small cups of each. Any cup or box you find around the house will work, but if you’re looking for matching storage go check out Dollar Tree. You’ll find tubs that fit perfectly in a medium-depth drawer, boxes that are great for stickers, and other jars that hold pens and pencils.
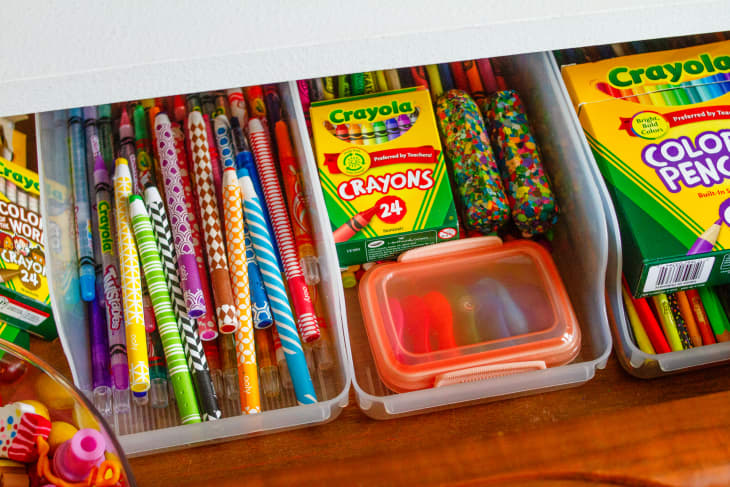
One of my favorite finds are these plastic bins designed for cans of soda that we store crayons and markers in (currently backordered but widely available elsewhere!). They keep the drawer tidy and are easy for my daughter to remove when she wants to color.
Your Third Storage Space: Backstock Essential Supplies
Now it’s time to talk about the third space I mentioned above! While your accessible art station space should have two sections of art supplies, depending on age, you as a parent should have a third space in mind: art supplies to be rotated in as needed or to shake it up. I learned this from The Home Edit and I carry it through all my organizing ventures: BACKSTOCK. Your art supply stash will indeed grow, but kids don’t need to be bombarded with every single thing they own when sitting down to create art. Keep it simple, just like with toys. The other art supplies can easily be packed away in a closet, rotated out every few weeks — or whenever the child asks for them.
How We Use Our Art Station
Art time at our house usually goes one of two ways: self-guided, or time spent coloring with Mom or Dad.
Self-guided craft time usually begins as part of another area of play; the dollhouse needs a television, or “Puppy School” needs homework papers. She’ll wander into the dining room, open up the drawers she needs, grab supplies, and get started. Often, this leads to more coloring and she’ll end up transitioning into a solid block of creative time.
If your child doesn’t sit for hours coloring, don’t worry — some kids just like a little dose here and there. As far as cleanup goes, I’m pretty relaxed about it because if the supplies are out she’ll keep using them throughout the day.
Ideas for parent-led art time: On days when my daughter is particularly feisty, claiming boredom over everything, I’ll set aside what I’m working on and take some time to sit with her and bring out the art supplies that we feel need adult supervision. These would be paint sticks, glue, scissors, beads, and any craft kits I’ve stashed away. We’ll make “rafts” or “houses” out of Popsicle sticks, string beads into necklaces, or paint together. We try to take part in the activity alongside her so she can see how we use the supplies; it tends to cut down on the questions. When it comes to creative time, we’re basically there to have fun with her and stop any potential disasters.
How to Keep Art Supplies Clean, Tidy, and Appealing
When she’s done with a project and ready to move on to something else, we clean up. I show her how to rinse paint brushes in the sink, clear the glue away from the cap and close the lid, and how to put everything back where it goes. For the more accessible and self-guided art supplies, which tend to sit out longer, cleanup time is always right before dinner, and extends to toys as well.
Parent-led art time is also a good time to sort through supplies and take note of anything that needs to be replaced. I despise having junky art supplies because no one ever chooses the half-dried yellow paint stick covered in brown paint to create with. I look at art supplies as tools, and all creators need their tools in good working order.
What to Do with Worn-Out Art Supplies (Don’t Toss Them!)
It’s inevitable that markers will dry out, crayons will break, and paint will run out. But there are creative ways to get a second life out of these tools.
Dry markers: Sometimes we’ll soak the dried out markers in water, creating “watercolors.” Then we use pipettes and use the colored water to paint. You can also recycle markers through Crayola’s ColorCycle program (although it looks like it’s been paused due to COVID).
Broken crayons: As for crayons, you can keep a big Ziploc bag in your pantry or storage area for crayon pieces. Once you’ve saved a few handfuls, remove the paper wrappers and melt the pieces together in your oven using small molds to make brand-new rainbow swirl crayons! It’s actually a really fun project to do together with your kids.
Recycling art supplies: Other options include finding a local art supply recycle/resale shop that accepts used (but not empty) supplies you no longer want. In Chicago we have The WasteShed (think: thrift store, but only for art and craft supplies). It’s completely FREE for teachers to shop, which is a great incentive to actually donate those items you need to get rid of. Terracycle offers an art supply Zero Waste Box that’s pricey, but a great way to recycle everything all at once.
Give kids a place to put things they don’t want to use anymore: However, you likely already have a million things to worry about, so if keeping tabs on broken or almost empty art supplies is far down on your list, don’t fret: Chances are your kid will let you know, very loudly. (Then they’ll ask for a snack.) Keep a tub under their desk, or in a drawer they can access, and ask them to put any art supplies they no longer want or have run out of in there for you to discard. From there you can take your time and decide what the best way for you to dispose of them is. Just remember: Keep it simple, and do what works for you!
One Last Tip!
If the one thing that overwhelms you is what to do with all the art your kids create, we recommend this short piece of advice from Maxwell, a former teacher and founder of Apartment Therapy. TLDR: Remember kids love the creative process of making art (and your applause and recognition!) more than they care about the product itself. Choose one box to save the really precious, memorable pieces, and let the rest go.
- Read the full advice: Ask Maxwell: How Do I Store Children’s Art (and Decide What to Keep!)?