Before and After: A $150 Entryway Project Has a Clever Trick for Displaying Photos and Art

If you’re looking for a great way to display family photos, this is for you!
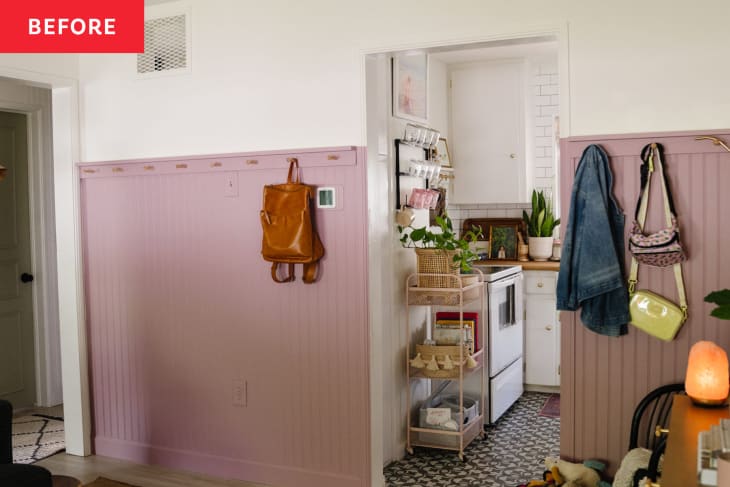
Madison Bess (@blushingbungalow) recently painted the bead board in this space a lilac color, and it was looking near-perfect — except that it needed some personalization. “There was a large empty space above my newly painted bead board,” Madison says. “I knew something needed to fill that spot!”
She wanted to display lots of photos, but was worried that doing so would look too cluttered because the wall also has pegs for hanging bags and coats. Often, the solution for adding a necessary item without it taking up too much visual space is acrylic, and once again, it was a clear winner here. “Acrylic is a great way to keep any space looking clean and modern,” Madison writes on her blog.
She used an acrylic rod from Ballard Designs, but says after completing the project, she realized she could have made something for much less using a $35 acrylic rod from Amazon, a $9 pack of wall mounts, and Rub N Buff. Because she wanted her photos to hang at the same (short) length to make room for coats, Madison hung her photos with these $13 lightweight clips from Amazon.
“I got this project done within a week of getting the idea, because I was just so excited to do it,” Madison says. “It didn’t take long at all to install. I did it all by myself with no help — that’s how easy it was!”
And as Madison points out, this easy DIY project has great versatility. You could hang art prints, sweet notes from friends, or ornaments from the rail, too. (She’s looking forward to adding holiday cards to hers when winter comes.)
Madison’s best advice for this project? Measure first, make sure you know the general height of the pieces you want to hang, and have fun with it. “Do whatever you think looks best for your space!” she says. “If it makes you smile, thats all that matters.”
“I am OBSESSED with the after!” she adds. ” It turned out so much better than I imagined! It doesn’t look cluttered at all and gives me a place to hang my favorite pictures … It adds such a homey feel.”
This post was originally published on Apartment Therapy. Read it there: Before and After: A $150 Entryway Project Has a Clever Trick for Displaying Photos and Art